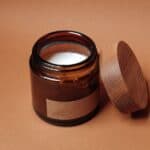
If you’re a candle maker or enthusiast, you’re likely familiar with the frustration of candle sinkholes. Sinkholes are indentations that form in the wax around the wick, often leaving unsightly and uneven surfaces. While heat guns are a common solution for fixing these issues, not everyone has access to this tool. But fear not, there are alternative methods for fixing candle sinkholes without a heat gun.
The easiest way to fix candle sinkholes without a heat gun is to use a hairdryer. However, if a hairdryer is also not available then you should simply do a second wax pour to fill in the hole and level out the surface of the candle.
The good news is that you have several options available for fixing sinkholes in candles. Let’s take a closer look at some of your options.
Materials Needed
Before we dive into the methods, let’s first cover the materials needed. You’ll need the following items to fix candle sinkholes without a heat gun:
- A hairdryer
- A pot or bowl
- A spoon or knife
- Paper towels or a clean cloth
- Oven
Using a Hairdryer To Level Surface Wax
One of the easiest methods for fixing candle sinkholes without a heat gun is using a hairdryer. Here’s how to do it:
Step 1: Clean the Candle
Start by cleaning the surface of the candle around the sinkhole with a paper towel or clean cloth. Make sure there’s no debris or dust on the surface, as this can affect the wax’s ability to melt and settle.
Step 2: Use the Hairdryer on Low Heat
Next, set your hairdryer to the lowest heat setting and hold it about six inches away from the candle’s surface. Move the hairdryer in circular motions around the sinkhole, gradually getting closer to the candle until you feel the wax begin to melt and settle. Be careful not to hold the hairdryer too close, as this can cause the wax to melt unevenly and create further issues.
Step 3: Smooth the Surface
As the wax melts and settles, use your finger or a spoon to smooth out the surface around the sinkhole. Be careful not to press too hard, as this can cause the wax to crack. Once you’ve smoothed the surface, allow the wax to cool and harden.
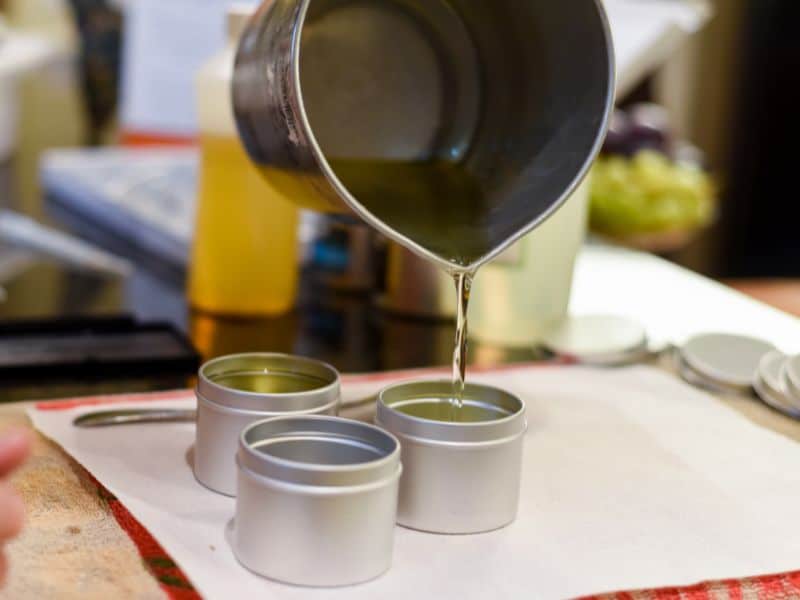
Second Wax Pour To Fill Sinkholes
You can mix up a small batch of wax that you will use just to refinish the surface of all of your candles. This will give them a perfectly smooth finish and make them look great.
Step 1: Measure Ingredients
Measure out the fragrance oil, wax, and dye if necessary for about 1 oz per candle depending on candle size. (You may have a bit left over).
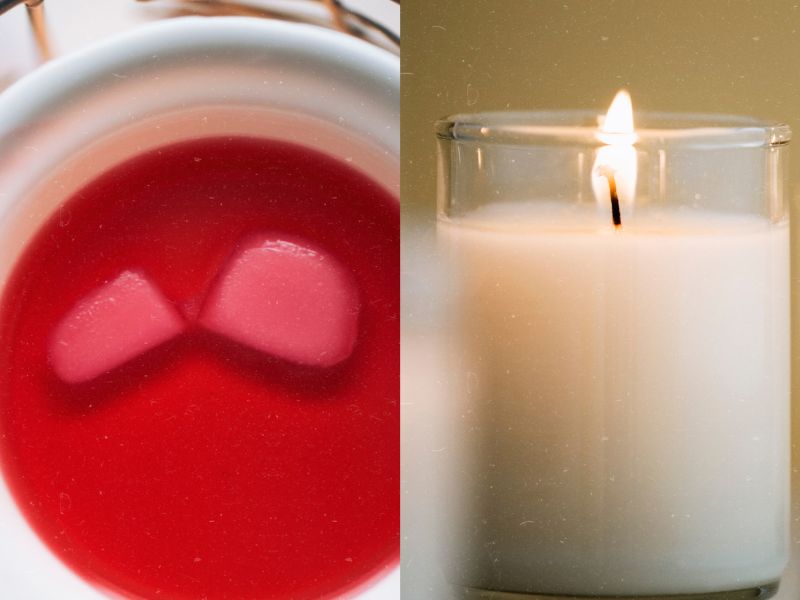
Step 2: Melt the Wax In A Double Boiler
Melt the wax as you normally would. It should not take long for such a small amount of wax so stay ready and keep an eye on it.
Step 3: Mix The Ingredients
Mix in the ingredients as you normally would and then remove from the heat and wait for it to cool to the pouring temperature.
Step 4: Top Each Candle With a Small Amount Of Wax
Top off each candle that has a sinkhole with a little bit of wax to fill the holes and level out the surface of the candle. When the second pour hardens you should have perfectly smooth candles.
Using a Hot Water Bath
Another method for fixing candle sinkholes without a heat gun is using a hot water bath. This method is effective because it heats the entire candle, not just the area around the sinkhole. Here’s how to do it:
Step 1: Boil Water
Start by boiling a pot of water on the stove. You’ll want to use enough water to submerge the candle completely.
Step 2: Place Candle in Water
Once the water is boiling, turn off the heat and carefully place the candle in the water. Make sure the water does not top the candle, you just want it to come up to the top of the wax, not the top of the container. YOU DO NOT WANT TO GET WATER IN YOUR CANDLE!
Step 3: Wait for the Wax to Melt
Wait for the wax to melt completely, which should take around 15 to 20 minutes. Once the wax has melted, use a spoon or knife to gently stir the wax around the sinkhole and smooth out the surface.
Step 4: Remove the Candle from the Water
Carefully remove the candle from the water and wipe it clean with a paper towel or cloth. Allow the candle to cool and harden completely before burning it again.
Using a Warm Spoon or Knife
The final method for fixing candle sinkholes without a heat gun involves using a warm spoon or knife. This method is useful for small sinkholes or for those that are located in hard-to-reach areas. Here’s how to do it:
Step 1: Warm the Spoon or Knife
Start by heating a spoon or knife under hot running water. Once the spoon or knife is heated, dry it off with a paper towel or cloth.
Step 2: Melt the Wax
Hold the spoon or knife directly over the sinkhole and allow the heat to melt the wax. Use a circular motion to distribute the heat evenly.
Step 3: Smooth the Surface
As the wax begins to melt, use the back of the spoon or the flat side of the knife to smooth out the surface around the sinkhole. Be sure to work quickly before the wax starts to harden again.
Step 4: Allow the Wax to Cool
Once you’ve smoothed out the surface, allow the wax to cool and harden completely before burning the candle again.
Use The Oven To Fix Sinkholes
You can also use your oven to help fix candle sinkholes. This method involves letting your oven remelt the surface wax of the candles so it can level out and become perfectly smooth.
Step 1: Place Candles On A Cookie Sheet
Place the candles with sinkholes onto a large flat cookie sheet spacing them out enough to let heat circulate around them.
Step 2: Set the Oven To Its Lowest Temperature
Set the oven to its lowest possible temperature. Anything below 170 F is great. However, if your oven does not go that low then you can try this method by leaving the oven door cracked a bit to help regulate the temperature.
Step 3: Place Cookie Sheet In the Oven
Put the sheet in the oven and keep a close eye on the candles so that you can see when the surface wax begins to level out. When you see that the surface wax is melting and leveling out you can remove them from the oven.
Step 4: Remove and Let Cool
When I remove mine from the oven I sit them right on the stovetop and shut the oven off. Letting them cool nice and slow right on top of the stove. After several hours they should be hardened enough to move around.
Tips and Tricks
Now that you know how to fix candle sinkholes without a heat gun, here are some tips and tricks to keep in mind:
Prevention is Key
The best way to avoid sinkholes is to prevent them from happening in the first place. To do this, make sure you’re using the correct wick size for your candle, and always pour the wax at the correct temperature. It’s also important to avoid placing candles in drafty areas or areas with inconsistent temperatures.
Be Careful with Heat Sources
While heat guns can be effective for fixing candle sinkholes, they can also be dangerous if not used correctly. Always follow the manufacturer’s instructions and use caution when working with hot tools. Remember, there are alternative methods for fixing sinkholes that don’t require a heat gun.
Take Your Time
When fixing candle sinkholes, it’s important to take your time and work carefully. Rushing the process can cause more issues, and you may end up with an even bigger sinkhole or a lopsided candle.
Practice Makes Perfect
If you’re new to candle making or fixing sinkholes, don’t worry if your first few attempts aren’t perfect. Practice makes perfect, and with time, you’ll become more confident in your skills.
Frequently Asked Questions
You should allow the wax to cool and harden completely before burning the candle again. This could take several hours depending on the size of your sinkhole.
Yes, you can use a hair dryer as an alternative to a heat gun for fixing candle sinkholes. Just make sure to keep it at a low or medium heat setting so you don’t accidentally overheat and damage your candle.
The type of wick you choose will depend on the size and type of candle you are making. Generally, small containers like votives and tea lights should use a pre-tabbed wick sized at 8 inches or shorter. For larger containers, such as tumblers and jars, you should use a 12 inch wick or longer.
It really depends on your preference and what is available to you. Both methods can be effective for fixing candle sinkholes, so just choose whichever method will work best for your situation.
Conclusion
Candle sinkholes can be frustrating, but with the right tools and techniques, they can be fixed without a heat gun. Whether you choose to use a hairdryer, a hot water bath, or a warm spoon or knife, make sure you’re working carefully and taking your time. By following these tips and tricks, you’ll be able to fix candle sinkholes like a pro in no time.