When you are making a bracelet one of the most important aspects is figuring out how to tie a bracelet knot. This is particularly important if you are making a bracelet that could be including charms or something of value to you.
Tie a bracelet knot by crossing the two ends of the bracelet. Then make a loop with the right end of the bracelet and run the left end through that loop. Pull the right end back through the loop and pull it tight. Repeat the process with the left end. Then trim both sides and burn the trimmed ends.
The last thing you want to have happened is for the bracelet to come undone and you do not notice it before it’s too late. So take a look at each of the methods below and see which knot is best for your bracelet.
Let’s take a look at the six ways you can use to tie a secure bracelet knot.
The Best Knots For Tying Bracelets
1. The Overhand Knot
This is probably the most basic knot in the entire knot world, possibly the first one that pops into your mind when you need to tie a knot, and one of the most common in jewelry making.
All you have to do to tie this kind of knot is positioning one end of the string bracelet over the rest of it to form a loop, take the end of the string and make it slide through the loop, then pull the knot tightly.
This really is the easiest, isn’t it?
This will work well with any kind of string and rope, elastic, wool, or cotton threads.
2. The Surgeon’s Knot
This kind of knot is great for tying elastics, and is a little complicated to do, especially if confronted with the super-simple overhand knot.
The Surgeon’s Knot, which is called this way because it’s the one surgeons use to secure their suture threads, is made by a couple of twists, which really help to keep everything in place; so it’s a great, very practical and secure option to tie a bracelet, even if not the best aesthetically speaking.
To tie this kind of not, overlap the two ends of the string, form a loop, and slide the thread through it. Then, slide it through again (for a total of two knots made). Pull both ends and tighten the knot solidly.
To make it more solid, try applying a drop of transparent superglue on it.
When working with elastic strings, also remember not to pull too hard, nor to use elastics that are too thin, and, once the bracelet is made, not to stretch too much when putting it on.
3. The Square Knot
The square knot is called like this because it looks the same on both sides.
This particular knot can be used in braided jewelry when you need to tie together different strands of string or add more thread into your work, and it is a tight one, as the Surgeon’s Knot.
To tie a square knot, you need to take the extremes of your two different ropes, one in each hand. Then, you have to first slide the end in your right hand over and under the end in your left one, and, secondly, you need to repeat the exact same process in reverse, sliding the end in your left and over and under the end in your right hand. Pull both ends strongly to tighten the knot.
This knot is great for any kind of material, but it works best with thick, waxed ropes, like the ones used to make scoubidou bracelets.
4. The Sliding Knot
This is probably the most useful out of all of these, as well as one of the most difficult to make.
This is a great option for waxed cotton strings and even thicker ropes, such as leather or satin ones.
Thus, this is especially good for thick (but not too thick, since in that case, the rope would be less flexible, hence more difficult to fold) threads.
Sliding knots probably are the best ways to make your bracelets adjustable in size, allowing you to resize them any time you want.
The sliding knot isn’t only useful, but also beautiful to see, perfect to add different touches to your bracelets’ design, whether you want them to look bohemian, rustic, or more sophisticated.
So, without further ado, this is how to tie a sliding knot (we’re going to use bullet points this time, because of the difficulty of this particular knot):
How To Tie A Sliding Knot
- Lay across the extremes of the string. The extreme of the thread in your left hand is in front of the extreme of the thread in your right one.
- Roll the thread that’s on the left around the one that’s on the right.
- Do it again: roll it around the right thread again. Make one complete loop (and a total of two hoops). Remember to keep the loops relatively baggy during this phase of the tie-knotting process.
- Repeat the process one more time. You will have three hoops around the right cord.
- Bring the extreme of the string towards the first loop, after doing the third roll.
- Slide this extreme of the rope through all of the three loops.
- Pull the end of the thread you just slid through the loops to tighten the knot.
- Repeat each and every one of these exact steps on the other side of your string. You should come up with another knot that looks exactly like the first one.
- While cutting the extremes of the thread to make them even. Always keep in mind that you have to leave enough string to be able to tighten or loosen the knots as desired.
And that’s it: now you have a perfectly resizable bracelet to fit all kinds of wrists.
5. The Lark’s Head Knot
Unlike the others, this knot isn’t used to finish up a bracelet, nor to close its ends.
In fact, this knot is great for when you want or need to attach a pendant to your jewelry piece. What you have to do is fold the string in half and slide the so-formed loop end through the pendant or object you want to add to your bracelet.
Now, pull both ends of the strings through the loop, securely framing your pendant in the knot. Pull the ends of the rope until the knot is firmly rolled around the pendant.
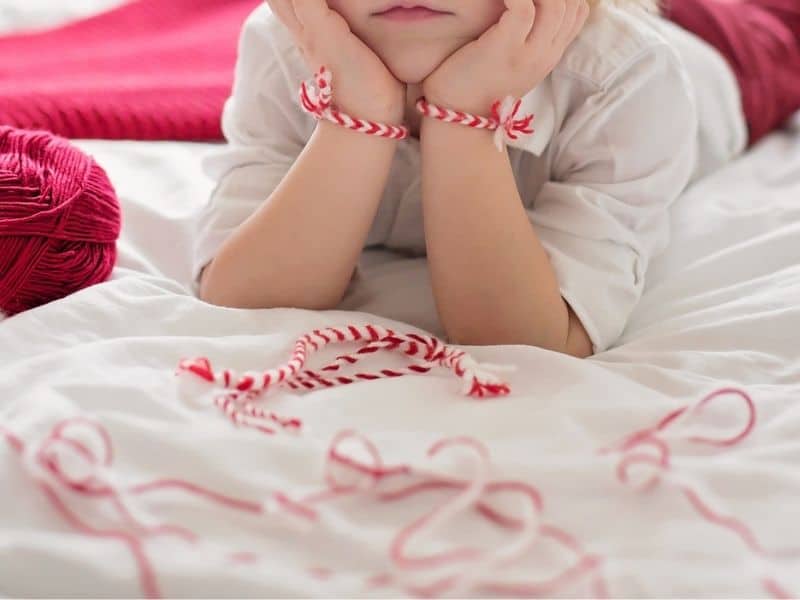
6. How To Tie Friendship Bracelets
This method only works for bracelets that are done intersecting multiple threads (like friendship bracelets).
To perform this knot, first tie your thread in half. Then, make an overhand knot with this folded thread’s end, in order to create a loop at one extreme of your bracelet.
Continue with the process of making your bracelet and, when you’re done, make two little braids out of the two strands of multiple thread-ends that result after the bracelet-making. Knot both ends with an overhand knot.
Then, slide one of the two braids through the loop you made earlier, and tie it together with the other braid with another overhand knot, and you’re finished!
Tips for Choosing the Right Knot for Your Bracelet
Choosing the appropriate knot for your bracelet is crucial as it ensures both the functionality and aesthetics of your creation.
Consider the following tips when selecting a knot, taking into account the type of material, style, and purpose of the bracelet:
- Material Matters: Different materials require specific knots to ensure secure fastening. For example:
- Beads: When working with beads, knots that can hold them in place without slipping are essential. The surgeon’s knot or square knot are excellent choices.
- Charms: Similar to beads, knots that prevent charms from sliding are ideal. The lark’s head knot, which attaches the charm securely to the bracelet, is a popular option.
- Elastic Cords: Elastic bracelets require knots that maintain tension and flexibility. The surgeon’s knot or square knot work well for elastic cords, providing both security and stretchability.
- Natural Stone Beads: These heavier beads often require more substantial knots. The square knot or sliding knot, which can be adjusted for a perfect fit, are suitable options.
- Style Considerations: The knot you choose should complement the overall style of the bracelet. For a clean and minimalistic look, the overhand knot works well. If you prefer a more intricate design, consider the square knot or sliding knot, which can add visual interest to your bracelet.
- Purpose of the Bracelet: Consider the intended use of the bracelet. If it’s meant to be adjustable in size, opt for knots like the sliding knot that allow for resizing. For bracelets that require quick and easy closure, the overhand knot or surgeon’s knot are reliable options.
Expert Advice on Bracelet Knotting
Gaining insights from experienced jewelry makers and knotting enthusiasts can enhance your bracelet-making skills.
Here are some expert tips and quotes to guide you in choosing the right knots and techniques for different bracelet projects:
- Sarah, an experienced jewelry maker, suggests, “When selecting a knot, think about the weight and movement of your bracelet. For delicate designs, opt for knots that won’t overpower the beads, such as the overhand knot. For heavier pieces, like gemstone bracelets, go for knots that provide strength and security, such as the surgeon’s knot.”
- Mark, a knotting enthusiast, recommends exploring unique knotting methods. He says, “Don’t limit yourself to the traditional knots. Look into decorative knots like the Celtic knot or Chinese button knot to add flair to your bracelets. These knots can become beautiful focal points and turn your bracelet into a true work of art.”
- Emma, a professional jewelry designer, advises, “Consider the comfort of the wearer when choosing knots. Bulky knots may not be suitable for bracelets that need to be worn all day. Opt for flatter knots or techniques like macramé knots that lie flat against the skin for maximum comfort.”
- Michael, a seasoned bracelet maker, shares his favorite lesser-known knot: “Have you tried the snake knot? It’s a versatile knot that creates an attractive braided pattern. It’s perfect for making thicker bracelets or incorporating multiple colors into your design.”
Remember, experimenting with different knots and seeking advice from experts can inspire creativity and help you discover new possibilities in bracelet knotting.
Frequently Asked Questions
The best knot for an elastic cord bracelet is a surgeon’s knot or a square knot. Both of these knots have the ability to stay secure and work well with elastic. They will make sure anything you have on the bracelet such as beads or charms stay secure.
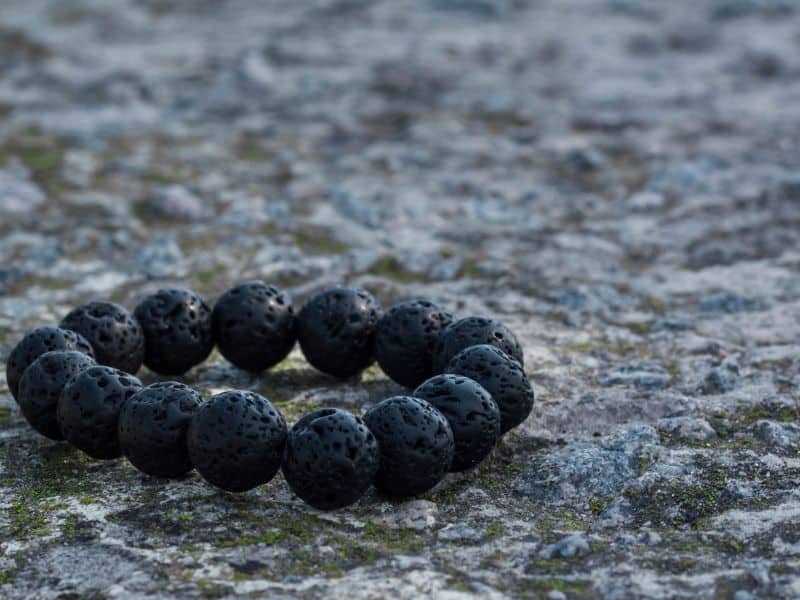
The most popular bead bracelets are made using natural stone beads. Natural stone beads are heavier than their plastic counterparts and give bracelets a premium and quality feel that you just do not get from plastic beads. They are great for friends, gifts and even to sell.
The best knots for making bracelets are the overhand knot, the square knot, the surgeon’s knot, and the sliding knot., Each knot has its own strengths and weaknesses and can be ideal depending on the material you are using and the type of bracelet you are making.
The best string for a bracelet is either cotton or waxed polyester. Cotton provides a strong, durable material that is soft to the touch and can be used with a variety of beads. Waxed polyester is also strong and durable, but it has the added benefit of being water resistant which is great for making bracelets that can be worn in the shower or out in the rain.
Conclusion
In conclusion, when it comes to making bracelets you have a lot of knots to choose from and the knot that you use should depend on the type of material you are using and the style of bracelet you are making.
Experiment around with different knots on different materials and see which knot holds the best on your particular project. In addition, you can also use a variety of glues, and heat to help secure your bracelets so that you are sure they will never come undone. Play around and have fun with it!