Curing candles plays a vital role in ensuring they burn correctly and emit a pleasant scent. Skipping this step can lead to various problems that affect the candle’s performance, appearance, and safety.
If you don’t cure a candle, it can result in a shorter burn time, uneven burning, weaker fragrance, inconsistent scent release, tunneling, and safety concerns such as increased fire risk and excess soot production.
Shorter burn time is one of the most common issues that occur when a candle isn’t cured. This means that it won’t last as long as it should, which can be frustrating if you take the time to buy the materials and make a candle.
Let’s look at some of the other issues related to not curing.
Understanding Candle Curing
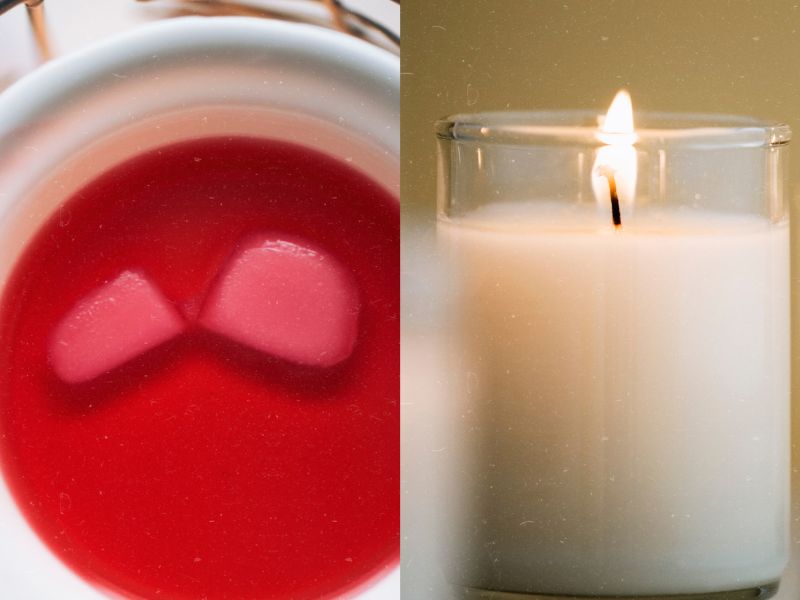
Curing is the process of allowing a candle to rest and harden after it’s been poured. This helps the wax and fragrance oils to bind together, improving the scent throw and overall quality of the candle.
Typically, candles should be cured for at least 24 hours, though some types of wax may require up to two weeks.
Make sure to follow the recommended curing time for the specific type of wax you’re using.
Curing Effects on Burn Time
Shortened burn time
Not curing a candle can result in a shorter burn time. When a candle isn’t properly cured, the wax and fragrance oils may not have properly blended, causing the candle to burn more quickly than intended.
By allowing your candles to cure, you’ll enjoy a longer-lasting, high-quality burn experience.
Uneven burning
A poorly cured candle can also lead to uneven burning. This occurs when some parts of the candle burn faster than others, causing an irregular, lopsided shape.
Properly cured candles are more likely to burn evenly and maintain their shape, providing a better overall experience.
Curing and Poor Scent Throw
Weaker fragrance
One of the main reasons for curing candles is to enhance their scent throw—the area in which a candle’s fragrance can be detected.
Without adequate curing time, the fragrance oils may not fully bond with the wax, leading to a weaker fragrance.
A properly cured candle, on the other hand, will have a more potent and enjoyable scent.
Inconsistent scent release
In addition to a weaker fragrance, an uncured candle may also release its scent inconsistently. As the candle burns, you might notice that the fragrance becomes more or less intense at different points.
This can make it difficult to enjoy the candle’s aroma fully. Curing your candles ensures a consistent scent release, providing a more pleasant experience.
Curing and Candle Tunneling
Tunnel formation
Tunneling occurs when a candle burns down the middle, leaving a ring of unused wax around the edges. This is not only unattractive, but it also shortens the candle’s lifespan.
When a candle hasn’t been cured properly, it is more likely to tunnel due to uneven burning and poor wax-to-fragrance oil bonding.
Allowing your candles to cure can help prevent tunneling and ensure a more even burn.
Wasted wax
Candle tunneling results in wasted wax, as the unused wax around the edges remains unburned. This not only shortens the life of your candle, but it’s also a waste of resources.
Curing your candles helps prevent tunneling and ensures you get the most out of your candle, maximizing its burn time and the enjoyment of its fragrance.
Safety Concerns
Increased risk of fire
Uncured candles may pose a higher risk of fire due to their uneven burning and quicker burn time. This can create an unstable flame that might be more likely to cause accidents.
Curing your candles helps ensure a steadier, more predictable burn, reducing the risk of fire-related incidents.
Soot and smoke production
Improperly cured candles can also generate more soot and smoke than well-cured ones. This is because the wax and fragrance oils may not burn efficiently, leading to incomplete combustion.
Excess soot and smoke can cause respiratory issues, leave residue on surfaces, and even damage your home. By curing your candles, you can minimize soot and smoke production, making them safer and more enjoyable to use
How to Properly Cure Candles
Properly curing candles is crucial for ensuring they burn evenly, last longer, and deliver a pleasant fragrance.
Here’s a step-by-step guide on how to cure candles correctly:
- Choose the right wax: Different types of wax have varying curing times. For example, paraffin wax generally cures faster than soy or beeswax. Research and select the appropriate wax for your candles to ensure optimal curing.
- Follow the wax manufacturer’s guidelines: When making candles, adhere to the recommended temperatures for melting, adding fragrance oils, and pouring the wax. These guidelines help achieve the ideal wax and fragrance oil blend, crucial for effective curing.
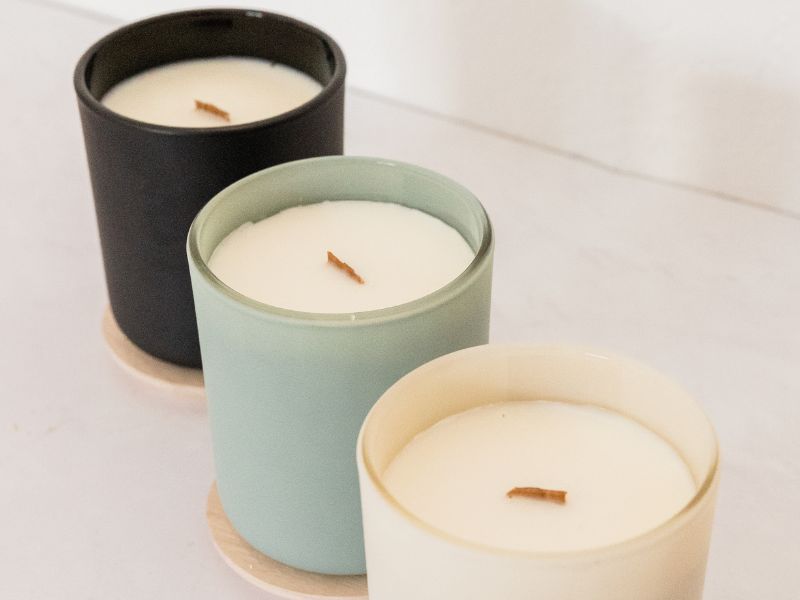
- Allow the candles to cool at room temperature: After pouring the wax into the molds or containers, let the candles cool undisturbed at room temperature. Avoid placing them near drafts or heat sources, as this may cause uneven cooling and disrupt the curing process.
- Wait for the candles to solidify: Once the candles have cooled, they should be firm to the touch. This process may take a few hours or even overnight, depending on the wax type and the size of the candles.
- Determine the appropriate curing time: The ideal curing time depends on the wax you’re using. Paraffin wax typically requires 24-48 hours, while soy and beeswax may need 1-2 weeks. Consult the wax manufacturer’s recommendations for the most accurate curing time.
- Store the candles properly: During the curing process, store the candles in a cool, dark, and well-ventilated area away from direct sunlight or heat sources. This prevents the wax from softening and allows any trapped air to escape, further enhancing the curing process.
- Be patient: Resist the urge to light your candles before they’ve had enough time to cure. While waiting may be challenging, proper curing is essential for achieving the best burn time, scent throw, and overall performance.
- Test the candles: After the recommended curing period, test one of your candles by lighting it and letting it burn for a few hours. Observe its burn time, scent throw, and overall performance. If you’re satisfied with the results, your candles are ready for use or gifting.
Once the curing process is complete, you can enjoy candles that burn beautifully, emit a delightful fragrance, and create a cozy atmosphere in your home.
Tips for Proper Curing
Allowing your candles to cure fully requires patience. Resist the temptation to light them too soon, and wait for the recommended curing time. This patience will pay off in the form of a longer-lasting, better-performing candle.
Candles should typically cure for at least 24 hours. However, some types of wax may require up to two weeks. Always follow the recommended curing time for the specific wax you’re using.
The temperature and humidity levels in your home can have an impact on the curing process. Generally, temperatures between 75°F and 85°F are ideal for curing most candles.
Avoid exposing the candles to direct sunlight or strong air flows from a fan, as these can affect the candles.
Storage conditions
While curing, store your candles in a cool, dark place away from direct sunlight or heat sources. This will help prevent the wax from softening and ensure a more effective curing process.
Keep the candles in a well-ventilated area to allow any trapped air to escape, further enhancing the curing process.
Frequently Asked Questions
A properly cured candle will have a solid appearance, and when burned, it will have an even burn, a consistent scent throw, and a longer burn time compared to an uncured candle.
It’s not recommended to speed up the curing process, as patience is key to achieving the best results. Candles should be allowed to cure naturally for the optimal burn time and fragrance.
Curing candles in the refrigerator is not recommended, as it can cause the wax to contract and crack. Candles should be cured at room temperature in a cool, dark place.
Factors such as room temperature, humidity, wax type, and fragrance oil concentration can affect the curing process and overall candle performance.
Candle warmers are not recommended for curing candles, as they’re designed for melting wax, not curing it. Candles should be cured at room temperature.
Conclusion
In conclusion, curing your candles is a crucial step that should not be overlooked. Skipping this process can lead to shortened burn time, uneven burning, poor scent throw, tunneling, and safety concerns.
By understanding the importance of curing and following proper techniques, you can enjoy candles that burn beautifully, emit a delightful scent, and create a cozy atmosphere in your home. Remember, a little patience goes a long way in ensuring the best possible candle experience.