Are you curious about cold process soap making and wondering how long it takes for your handmade soap to cure? You’ve come to the right place! We are going to explore the ins and outs of curing cold process soap, including the average cure time.
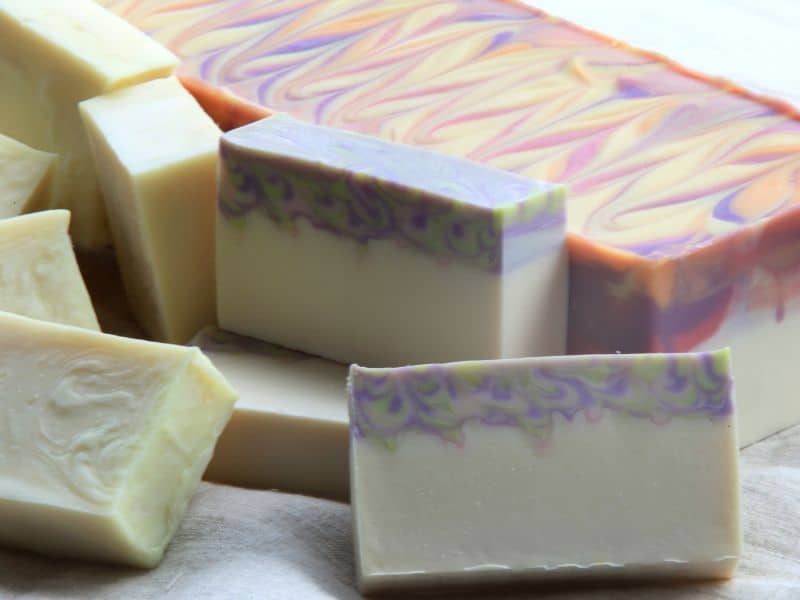
Cold process soap must cure 4-6 weeks, allowing it to harden, excess water to evaporate, and the saponification process to complete. This results in a longer-lasting, gentle, and high-quality soap.
The curing process begins immediately after the soap has been poured into a mold. During this period, heat and water vapor generated during saponification escape from the bars. The bar will become harder and milder over time as excess water evaporates.
When properly cured and stored, cold process soap will last for a long time.
As mentioned before, the average curing time for cold process soap is 4-6 weeks. However, the exact amount of time will depend on many factors including the type and quantity of oils used, room temperature and humidity, desired hardness, and the size of the bars.
Generally, large bars with a high water content will take longer to cure than small bars with low water content. Let’s take a closer look at cold process curing time and what it involves.
Average Cure Time for Cold Process Soap
Cold process soap usually needs to cure for 4-6 weeks. This time allows the soap to harden and the extra water to evaporate, making the soap last longer. There are a few things you can do to check if your soap is cured.
To determine if cold process soap is cured, check for firmness, consistent color and texture, and absence of a zapping sensation when touched to the tongue. A pH test and stable weight can also confirm proper curing.
Let’s take a closer look at how to tell when it is cured.
Signs your soap is ready:
- Hardness: Your soap should feel firm to the touch, not soft or crumbly.
- No zapping sensation: When touched to your tongue, cured soap shouldn’t cause a “zapping” feeling, which indicates active lye.
- Consistent color and texture: The soap should have an even color and smooth surface.
Testing for proper cure:
- pH test strips: Use these to check the soap’s pH, which should be between 8-10. Higher pH may indicate the soap needs more curing time.
- Weight test: Weigh your soap bars weekly. When the weight stops decreasing, the soap is likely cured.
Factors Affecting Cold Process Soap Cure Time
Different ingredients in your soap recipe can impact the cure time. Soaps with high amounts of hard oils (like coconut or palm oil) may cure faster, while those with more soft oils (such as olive or avocado oil) may need more time.
Cure time can be affected by the environment. High humidity can slow down the curing process, while low humidity may speed it up. Warmer temperatures can also help the soap cure faster. Ideally, cure your soap in a well-ventilated area with a temperature between 65-75°F.
The size and shape of your soap bars also impact curing time. Thicker bars or those with intricate shapes may take longer to cure. To speed up the process, consider cutting your soap into smaller, evenly-sized bars.
How to Speed Up the Curing Process
There are a few things you can do to speed up the curing process of soap.
Speed up the curing process by spacing the soap out on curing racks in a room that has adequate airflow and a dehumidifier. This will help decrease the amount of time required to remove the moisture from the soap.
Curing racks elevate soap bars, providing better air circulation and promoting even drying. Place your soap on a wire or wooden rack, ensuring that there’s enough space between each bar for air to circulate.
Turning your soap bars over every few days helps them dry evenly and cure faster. Regularly flipping the bars ensures that all sides receive equal air exposure.
Benefits of a Well-Cured Soap
A fully cured soap bar lasts longer because excess water has evaporated, making it harder and less prone to dissolving quickly in water. Well-cured soaps provide better value and can be enjoyed for an extended period.
As the soap cures, its lather becomes richer and creamier. Additionally, the scents from essential oils or fragrances mature, creating a more pleasant and balanced aroma. A well-cured soap offers an enhanced sensory experience during use.
Properly cured soap is less likely to cause skin irritation, as the saponification process is complete and no active lye remains. A well-cured soap is gentle on the skin, making it suitable for those with sensitive skin or conditions like eczema.
Troubleshooting Common Curing Problems
Soft or sticky soap
If your soap remains soft or sticky after the expected curing time, it may be due to excess water, high humidity, or a recipe with too many soft oils. To fix this issue, try adjusting your recipe or allowing more time for the soap to cure in a well-ventilated area.
Discoloration or odor
Discoloration or an unpleasant odor can be caused by rancid oils, overheating during the soap-making process, or the use of certain fragrance oils. To address these issues, make sure you’re using fresh oils, monitor the temperature during soap making, and consider using different fragrance oils.
Tips for fixing issues
- Adjust your recipe: Tweak the oil ratios or try a new recipe.
- Control temperature: Keep an eye on temperatures during soap making to avoid overheating.
- Experiment with additives: Some ingredients like clays or charcoal can help improve the final soap.
Troubleshooting Unevenly Cured Soap
Identifying causes of uneven curing
Unevenly cured soap can result from inconsistent temperatures, poor air circulation, or varying thicknesses in the soap bars. Identifying the cause will help you address the issue.
How to salvage and repurpose soap
If your soap doesn’t cure evenly, you can still salvage it. Grate the soap and use it to make laundry detergent, rebatch it into a new soap, or use it as a gentle household cleaner.
Preventing future issues
- Ensure consistent temperatures: Maintain a stable temperature during the soap-making process and while curing.
- Improve air circulation: Use curing racks and flip bars regularly to promote even drying.
- Cut soap bars uniformly: Make sure soap bars are of similar thickness to ensure even curing.
Common Myths About Cold Process Soap Curing
Debunking cold process soap curing misconceptions:
- Myth: Soap is safe to use after 24 hours: While soap may harden within a day, it still requires weeks of curing to ensure it’s safe, gentle, and long-lasting.
- Myth: Curing time doesn’t matter: Skipping the curing process can lead to short-lived, harsh soap with an unpleasant lather.
- Myth: Longer curing always means better soap: While curing is essential, excessively long curing times may not provide significant benefits.
Accurate information for successful soap making
- Understand the curing process: Learn why curing is necessary and how it impacts your soap’s quality.
- Research recipes and ingredients: Choose recipes and ingredients that work best for your desired outcome.
- Keep track of your soap-making journey: Document your experiences, including successes and failures, to refine your techniques.
Trusting your instincts and learning from experience
- Patience is key: Allow your soap to cure for the recommended time, even if it looks or feels ready.
- Learn from mistakes: If you encounter issues, research possible causes, and apply the knowledge to future soap making.
- Seek advice from the soap-making community: Connect with experienced soap makers for guidance, support, and inspiration.
Frequently Asked Questions
Signs that your soap is ready include firmness, no zapping sensation when touched to the tongue, and a consistent color and texture.
Yes, you can grate and repurpose unevenly cured soap for laundry detergent, rebatch it into new soap, or use it as a gentle household cleaner.
To prevent curing issues, maintain consistent temperatures, improve air circulation, and cut soap bars uniformly.
Well-cured soap offers longer-lasting bars, richer lather and better scent, and is gentle on the skin.
Hot process soap making speeds up saponification, reducing cure time. However, it may result in a different texture and appearance compared to cold process soap.
Conclusion
In conclusion, patience is essential when it comes to curing cold process soap. Allowing your soap to cure for the recommended 4-6 weeks ensures a high-quality, long-lasting, and gentle product that you can be proud of.
By understanding the factors and the impact of cure time and learning how to troubleshoot issues, you can perfect your soap-making skills and create beautiful, custom soaps for yourself, loved ones, or even for sale.
Remember to trust your instincts, learn from your experiences, and enjoy the rewarding journey of cold process soap making.