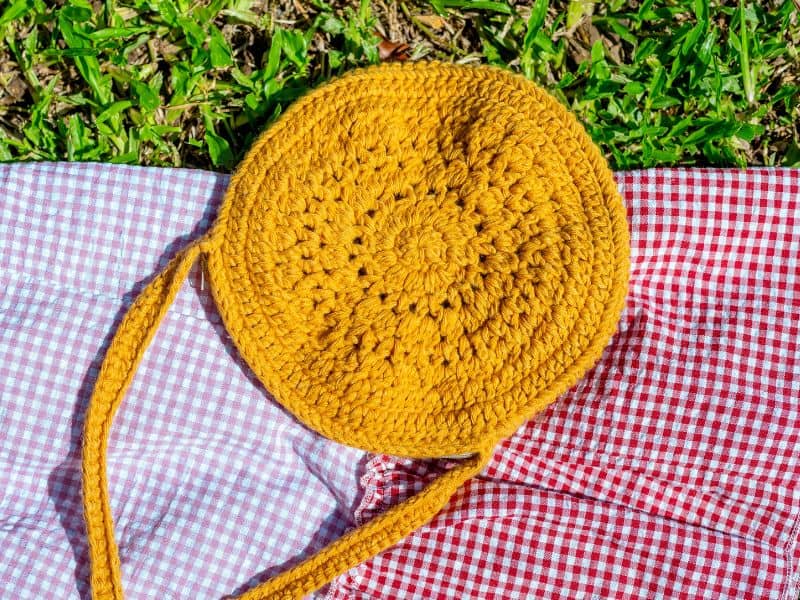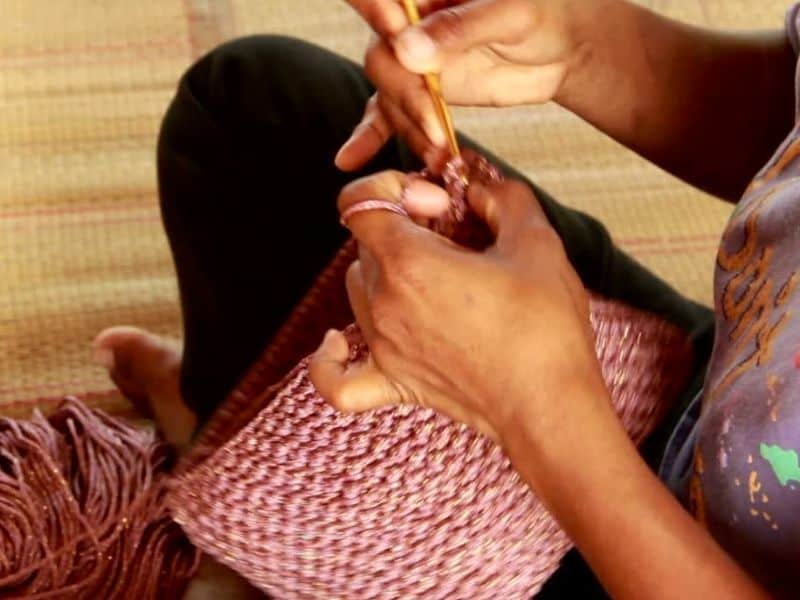
Crocheting is a beloved craft that has been enjoyed for centuries. It’s a therapeutic and relaxing activity that allows individuals to create beautiful, handmade pieces. However, one of the most crucial aspects of crocheting is knowing how to fasten off.
This simple yet important technique ensures that your work is neat and tidy and that it won’t unravel. In this article, we will provide step-by-step instructions on how to fasten off crochet.
How To Fasten Off Crochet: Step By Step
Step 1: Finish Your Final Stitch
Before you can begin fastening off your crochet project, you need to make sure that you’ve completed your final stitch. This may be a single crochet stitch, double crochet stitch, or any other stitch that you’ve been using for your project. Once you’ve finished your final stitch, it’s time to start fastening off.
Step 2: Cut Your Yarn
Once you’ve finished your final stitch, you’ll need to cut your yarn. Cut the yarn leaving a tail that is about six inches long. This tail will be used to weave in the end of your work.
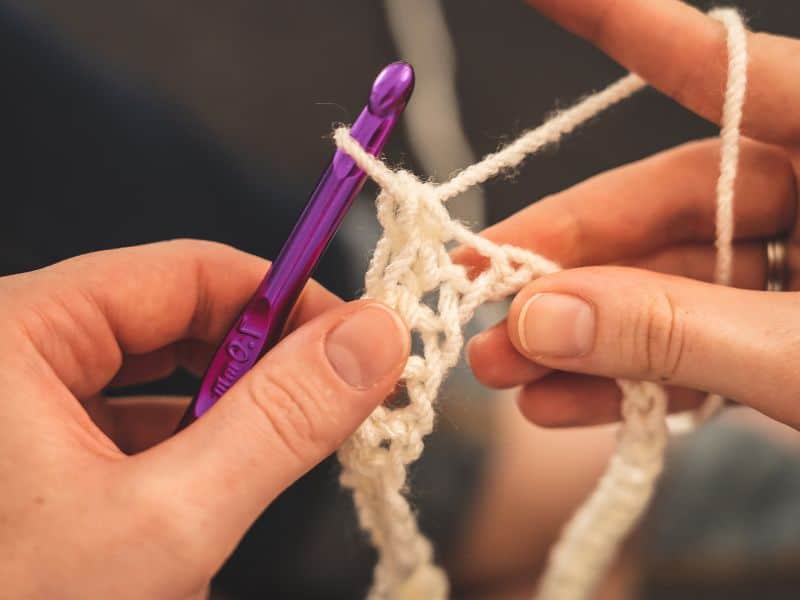
Step 3: Yarn Over
Next, yarn over your hook by placing the yarn over the hook from back to front. Then, pull the yarn through the loop that is currently on your hook. This creates a new loop that you’ll be using to fasten off.
Step 4: Pull the Loop Tight
After you’ve created a new loop on your hook, pull it tight. This will secure the loop and keep it from unraveling.
Step 5: Weave in the End
The final step is to weave in the end of your work. Thread the tail of your yarn onto a yarn needle and weave it in and out of your stitches. This will secure the end of your work and prevent it from unraveling.
Alternative Method: Slip Stitch Fasten Off
Another method of fastening off crochet is the slip stitch fasten off. This method is great for when you’re working on a project that requires a lot of color changes. Here’s how to do it:
Step 1: Finish Your Final Stitch
As with the previous method, you’ll need to finish your final stitch before you can start fastening off.
Step 2: Yarn Over
Yarn over your hook by placing the yarn over the hook from back to front. Then, insert your hook into the next stitch.
Step 3: Slip Stitch
Once your hook is inserted into the next stitch, yarn over and pull the yarn through both the stitch and the loop on your hook. This creates a slip stitch.
Step 4: Repeat
Repeat steps 2 and 3 until you reach the end of your work. Once you’ve completed the final slip stitch, cut your yarn leaving a tail that is about six inches long.
Step 5: Weave in the End
Finally, weave in the end of your work by threading the tail of your yarn onto a yarn needle and weaving it in and out of your stitches.
Tips for Fastening Off Crochet
Fastening off crochet is an essential skill that every crocheter should learn. This technique ensures that your project is neatly finished and won’t unravel. Here are some tips for fastening off crochet:
- Finish the last stitch of your project before fastening off. This will ensure that your work is complete and that you don’t accidentally unravel any stitches.
- Cut the yarn, leaving a tail that is long enough to weave in later. As a general rule of thumb, the tail should be at least 6 inches long.
- Yarn over and pull the tail through the last loop on your hook. This will secure the end of your work.
- Use a tapestry needle to weave in the end of the yarn. Thread the needle with the tail, and then weave it in and out of the stitches on the backside of your work. Be sure to weave the yarn in several directions to ensure that it won’t come loose.
- Once you’ve woven in the tail, trim any excess yarn with scissors.
- If you’re joining another color of yarn, fasten off the old color before starting the new color. This will ensure a clean, seamless transition.
- If you’re making a project with several pieces, fasten off each piece before joining them together. This will make it easier to weave in the ends and create a finished product.
- Remember to take your time when fastening off, especially if you’re working with a delicate or intricate project. Rushing through this step can result in a messy, unfinished look.
By following these tips, you can master the technique of fastening off crochet and create beautiful, polished projects that will last for years to come.
Frequently Asked Questions
The foundation chain in crochet is the initial chain of stitches used to begin a crochet project.
Yarn weight refers to the thickness of the yarn, while hook size refers to the size of the crochet hook used to work with the yarn.
Gauge in crochet refers to the number of stitches and rows per inch in a crochet project, and is important to ensure the finished project is the correct size.
Some common crochet abbreviations include ch for chain, sc for single crochet, dc for double crochet, and st for stitch.
A pattern in crochet refers to the overall design of a project, while a stitch refers to the individual techniques used to create the project, such as single crochet or double crochet.
Conclusion
In conclusion, fastening off crochet is a simple yet important technique that every crocheter should know. By following the steps outlined in this article, you can ensure that your work is neat, tidy, and won’t unravel. Remember to take your time and leave a tail that is long enough to weave in the end of your work. With a little practice, fastening off crochet will become second nature, and you’ll be able to create beautiful, handmade pieces with ease.
Whether you’re a beginner or an experienced crocheter, knowing how to fasten off crochet is essential. By mastering this technique, you can ensure that your work looks neat and tidy, and that it will stand the test of time. So the next time you finish a crochet project, take the time to fasten off properly, and enjoy the satisfaction of creating something beautiful and long-lasting.