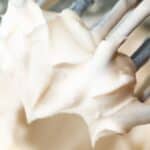
Melt and pour soap making has become increasingly popular in recent years due to its ease of use and convenience. One question that often comes up is whether or not melt and pour soap needs to cure. In this article, we will explore this topic and provide you with the information you need to know and more!
No, melt and pour soap does not need to cure. However, allowing it to dry for a few days can help to ensure it is free from excess moisture and prolong its shelf life. This additional time to dry may be necessary if you used additives in your soap base.
Melt and pour soap bases are already pre-made with the necessary ingredients to make it a safe, hard bar that will last. With this type of soap, the process is much quicker because you do not have to wait for it to cure before using it. Let’s take a closer look at this issue.
What is Cure Time in Soap Making?
Curing is the process of allowing soap to dry and harden over a period of time before using it. During the curing process, excess water and moisture evaporate from the soap, which makes it firmer and more long-lasting. Curing also allows the soap to become milder and less harsh on the skin.
Does Melt and Pour Soap Need to Cure?
The short answer is no, melt and pour soap does not need to cure. Melt and pour soap is made using pre-made soap bases that have already gone through the saponification process. The soap base has already reacted with lye, so there is no need for additional curing time.
Melt and pour soap can be used as soon as it is hardened and removed from the mold. In most cases, this will take between 1-2 hours. Once the soap has hardened, it can be removed from the mold and used right away.
However, while melt and pour soap does not need to cure, it can benefit from a short period of drying time. This will help to ensure that the soap is completely dry and free from any excess moisture. Excess moisture can cause the soap to become soft and mushy, and it can also cause the soap to develop mold or bacteria.
How Long Should You Let Melt and Pour Soap Dry?
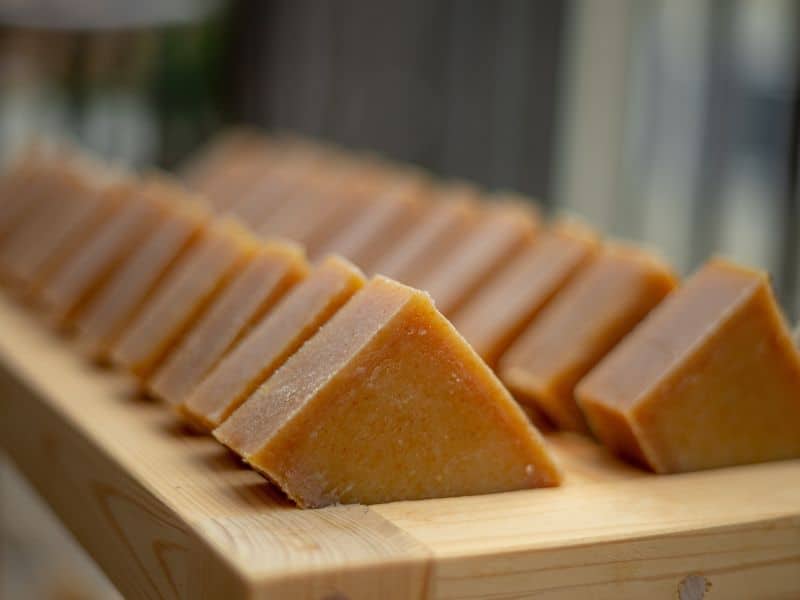
While melt and pour soap can be used as soon as it has hardened, it is recommended to let it dry for at least a few days before using it. This will help to ensure that the soap is completely dry and free from any excess moisture.
To dry melt and pour soap, simply remove it from the mold and place it on a wire rack or a piece of parchment paper. Allow the soap to sit in a cool, dry place for at least 2-3 days. During this time, excess moisture will evaporate from the soap, leaving it firmer and more long-lasting.
If you are making melt and pour soap in a humid environment, you may need to let it dry for longer than 2-3 days. In some cases, it may take up to a week for the soap to completely dry.
Tips for Drying Melt and Pour Soap
Drying melt and pour soap is a crucial step in the soap-making process. After molding the soap, it needs to be allowed to dry completely to avoid any moisture retention that can cause the soap to soften or deteriorate. Here are some tips to help you properly dry your melt and pour soap:
Allow enough time for the soap to dry
It’s essential to be patient and give your soap enough time to dry completely. The drying time can vary depending on the size and shape of your soap, as well as the environment in which it is drying. As a general rule of thumb, you should let your soap dry for at least 24 hours before packaging or using it.
Choose the right environment
The environment in which you dry your soap can affect its drying time and quality. You want to choose a dry, cool, and well-ventilated area, away from direct sunlight or heat sources.
Properly store your soap
Once the soap is dry, store it in a cool, dry place, away from any humidity or moisture. Avoid storing your soap in sealed containers or plastic bags, as they can trap moisture and cause the soap to soften or sweat.
Use a dehumidifier
If you live in a humid area or during humid weather, you can use a dehumidifier to reduce the humidity level in the room and speed up the drying process.
Test the soap for dryness
To check if your soap is dry, touch the surface of the soap lightly. If it feels hard and dry to the touch, it is ready to be packaged or used. If the soap feels soft or sticky, it needs more time to dry.
Use a fan
A gentle breeze can help speed up the drying process. Use a small fan or open a window to create air circulation around the soap.
By following these tips, you can ensure that your melt and pour soap dries properly, giving you a finished product that is hard, long-lasting, and of high quality.
Frequently Asked Questions
While it is possible to use food coloring to color melt and pour soap, it is not recommended as it can cause uneven color and may stain skin. Instead, use cosmetic-grade colorants specifically designed for soap making.
Melt and pour soap typically takes about 1-2 hours to fully set and harden. You can speed up the process by placing the soap molds in the refrigerator or freezer for a few minutes.
To package your melt and pour soap for gift giving, wrap it in pretty tissue paper or place it in a clear cellophane bag tied with a ribbon. You can also create custom labels or tags to add a personalized touch.
To make melt and pour soap, you will need a heat-safe container, a double boiler or microwave, a stirring utensil, and any additives you plan to include in your soap. You may also want to have soap molds and rubbing alcohol on hand for molding and cleaning your soap.
Conclusion
In conclusion, while melt and pour soap does not need to cure like traditional cold process soap, allowing it to dry for a few days can help to ensure that it is completely dry and free from any excess moisture. Proper handling and storage, along with high-quality ingredients and best practices in soap making, can also help to ensure the quality and longevity of your melt and pour soap. With these tips, you can create beautiful, customized soaps that are perfect for personal use or as gifts for friends and family.