Almost everyone knows that melt and pour soap is a great way to make your own custom soaps at home, but not everyone knows how to melt the soap in a double boiler. In this tutorial, we will show you how to melt the soap in a double boiler so that you can get started making your own custom soaps today.
Melting Soap In A Double Boiler
There are various ways you can melt the soap base, like using a microwave oven, slow cooker, and a double boiler. So, how to do this task in a double boiler?
1) Get a heat-resistant bowl
Get a heat-resistant bowl that can withstand boiling water and hot steam. This bowl will become the top half of your double boiler.
2) Get a pot large enough to fit the bowl and fill it with water
Get a pot that is large enough to hold the heat-resistant bowl, but not so large that the bowl falls in completely. Fill the pot with water and put it on medium to high heat.
3) Place the heat resistant bowl on top of the pot
When the heat-resistant bowl is placed on top of the pot filled with water, you have essentially created your double boiler. The boiling water and steam will be the heat source for the heat-resistant bowl.
4) Begin adding soap base to the heat resistant bowl
After you have the bowls systemized, now you have to put the soap base pieces into the heat-resistant bowl.
5) Add distilled water and colorant
For each pound you melt in the pot, you have to add four ounces of distilled water to the boiler bowl. If you need colors to add, you need to add that at the same moment.
6) Stir the mixture well
You have to stir gently and continuously to get rid of lumps.
7) Let sit for approximately 10 minutes
Next, you have to cover the soap mix for at least ten minutes and check if the soap is still in its liquid form.
8) Finish adding ingredients
Once the mixture has become soft and translucent, you can add other things to it. Pour in the fragrance and essential oil with glitter and stir the mixture gently.
9) Pour Into Mold
After you have mixed everything evenly, you have to pour the soap into the mold.
10) Let soap harden
Lastly, you have to wait until the soap has hardened and is ready to use.
Melt And Pour Soap Explained
The melt and pour method for soap-making is for the cautious people who have kids and pets at home and the ones who are extra cautious about the danger of other soap-making processes.
However, the downside of this method is that you won’t be able to measure the ingredients properly, and you can’t claim that you have made the product from scratch. But you will still get the credit for making it and the satisfaction that you have the freedom of showing your creativity.
The system of this soap making is known as the melt and mold or soap-casting method. This simply means that you melt the soap base and add it with the supplies you have. Once the mixture is complete you can pour the same in the molds. You can do this method using a double boiler and other tools as well. Let’s find out more in this article.
Supplies Required For Melt and Pour Soap
When you are making soap at home you need supplies for it. These are necessary as you want a perfect product in your hand at the end of the entire process. So the things you need are,
- Pre-made soap base: You have to use a pre-made soap base for the melting process. These pre-made bases are already saponified so, you won’t have to work with lye. You will find these easily in craft or online stores. Well-known bases normally include goat’s milk, shea butter, honey, Aloe Vera, hemp and they have mostly white or clear shade. If you are looking for affordable soap bases then, you need to research a bit. You will get the same from various stores.
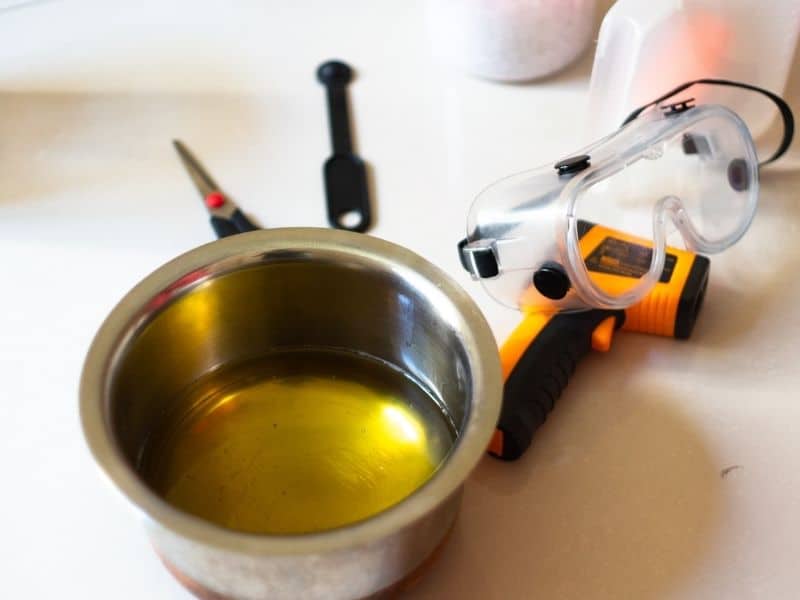
- Tools for soap melting: For the melt soap process you need tools. You have to stir the melted base in a container; you need fragrances, colors, and other things. You will also need a double boiler, a microwave, or a slow cooker.
- Tools for cutting the soap base: You have to break the base into smaller pieces, so you can easily melt it. You can have a food processor, a grater, or a knife for this task.
- Measurement tools: A food scale is required when you are making soap from a pre-made base. You will require measuring spoons and cups to measure the ingredients you have.
- Mold: Molds are there to give a shape to the soap. You can have molds made of silicone, plastic, or paper. Each type of mold has its perks and downsides. However, for beginners, you can always go with a silicone one.
- Bowls or containers: you need to mix the melted soap base with color, fragrance, and additional things. So you need a bowl or a container to do that. You can use a heat-proof container so that it holds the temperature of the soap mix.
- Rubbing alcohol: You need to make the soap-free of bubbles and rubbing alcohol will help eliminate that. You can spray the same over the surface of the soap, so the bubble will pop and you can reduce the bigger ones with a toothpick. Also, if you want layers, rubbing alcohol is important for that.
Using Melt And Pour Soap For Soap Making
This method is very easy. All you need to do is to cut the soap bases into pieces and melt the same in a double boiler. During the mixing process, you can add various ingredients like color, fragrance, and other things. There are different ways you can melt the soap base and here we will describe the process using a double boiler. But before that, check the process first.
- Break down the pieces into smaller sizes. This will help in the faster melting. You can always grate the soap base using a grater. Or use a food processor to break the hard base. If the pieces are large then, use a knife to cut them. Once they are made into pieces now you can prepare the boiling part.
- You can melt down the soap pieces in a heat-proof container. You can do it in a double boiler, slow cooker, or microwave.
- Add the things you need when you are melting the base. You can add color, glitter, and fragrance to the melting soap. You can even mix essential oils into it. You can add glitter at the end of the melting process.
- After you have melted the soap and mixed the ingredients, now it’s time to pour the mixture into the mold. You can use silicone, plastic, or paper mold for this. If there are bubbles at the top of the mixture, you can spray rubbing alcohol over it. Also, if there are larger bubbles you can pop them with a toothpick.
Frequently Asked Questions
No, melt and pour soap is not for cold process soap making. The melt and pour method uses a pre-made soap base that is already saponified.
You can get rid of the bubbles by spraying rubbing alcohol over the surface of the soap. You can also pop the bigger bubbles with a toothpick.
You can use silicone, plastic, or paper mold for the melt and pour process. Each type has its own perk and downside. If you are beginner then silicone mold is the best.
You can make layers in your melt and pour soap by adding different colors, and then spraying rubbing alcohol over the top of it. This will help the colors to stay separated.
Conclusion
In conclusion, soap making is easy and satisfying. Anyone can make soap from a pre-made base, and without having complicated tools for the process. You can always use a double boiler method to melt the soap base and have fun doing it.