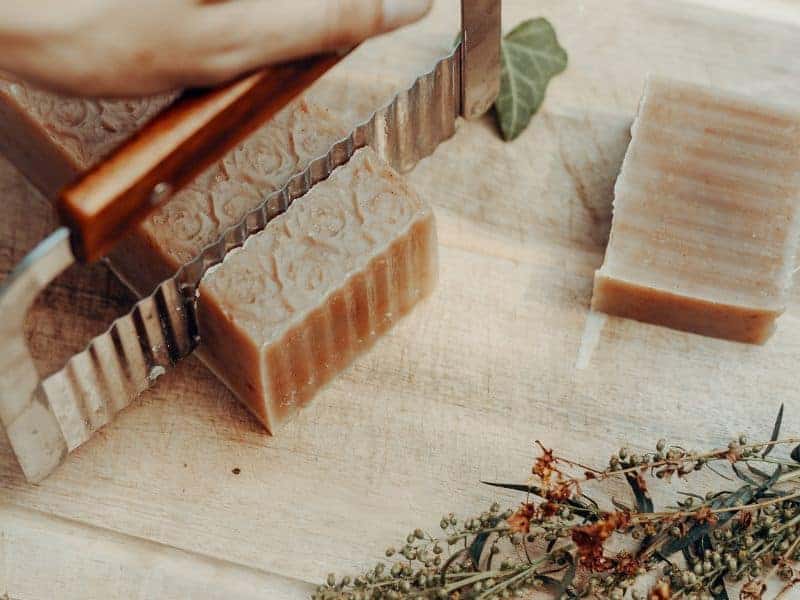
There’s something truly rewarding about crafting your own soap at home. Not only do you control the ingredients, but you also pour your creativity into each bar. Central to this process is one key ingredient – lye water. We are going to take a look at lye water and why it plays such a crucial role in soap making, and how you can make it yourself.
Make lye water for soap by adding lye (sodium hydroxide) to distilled water. Stir until the lye is fully dissolved. Always add lye to water, not the reverse, to avoid a violent reaction. Let the solution cool before use.
After your lye water solution has cooled, it’s time to combine it with your chosen oils or fats. This crucial step sparks off the saponification process, transforming the oils into soap and glycerin. Remember to continue stirring the mixture gently throughout this process to ensure uniform consistency.
Let’s take a closer look at what you need to know for dealing with lye and making lye water below.
Lye Water: Understanding the Basics
Lye water, in simple terms, is a blend. This unique concoction originates when lye, more scientifically known as sodium hydroxide, meets with water. It results in a potent alkaline solution that is an essential component in various household and industrial processes, one of the most notable being soap making.
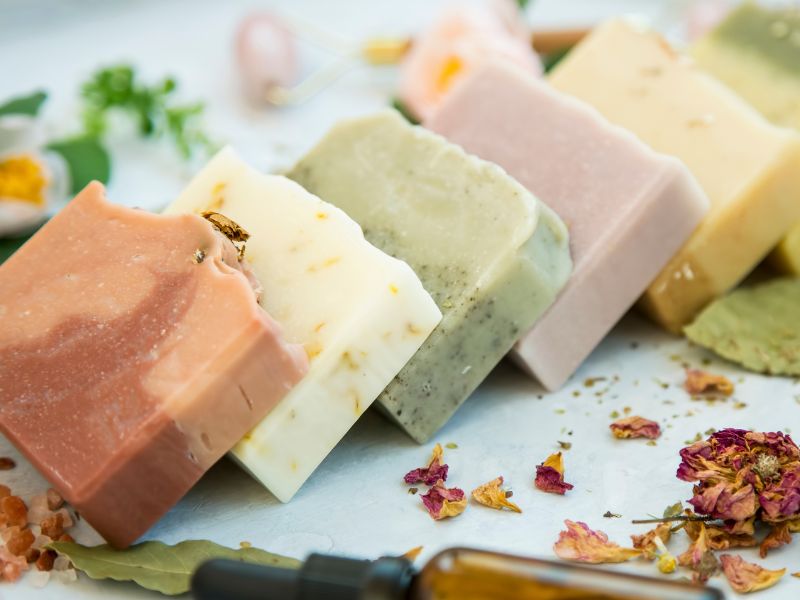
In the arena of soap crafting, lye water takes center stage. It interacts with fats or oils to set off a fascinating chemical reaction, known as saponification. This process turns the fats or oils into soap and glycerin, which serve as the foundation of our familiar cleansing bars.
Despite its key role in soap crafting, lye water’s applications extend further. In food preparation, it’s used to modify food textures and flavors. For example, it helps give pretzels their signature taste and texture. It’s also used in certain cleaning products, making lye water a versatile solution in various spheres of life.
Tools and Ingredients to Make Lye Water
To start, you need protective safety gear.
Thick rubber gloves, safety glasses, and a long-sleeved shirt are must-haves. You’ll also need a stainless steel pot to mix your ingredients. For accurate measurements, a good kitchen scale is essential. Finally, a heat-resistant container, like Pyrex or a high-density polyethylene container, will hold the lye water.
For lye water, you just need two things: water and lye. Make sure to use distilled water to avoid any impurities. As for the lye, choose 100% pure sodium hydroxide.
It’s available online or at local hardware stores.
Making Lye Water: Step-by-Step Guide
Step 1: Begin by wearing your safety gear. Lye can cause burns if it comes in contact with skin.
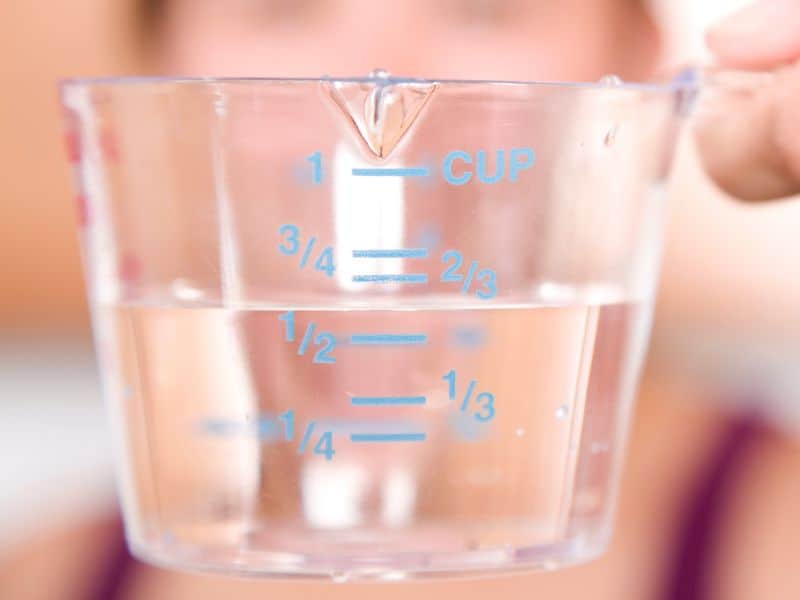
Step 2: With your kitchen scale, accurately measure the distilled water. Accuracy ensures a balanced chemical reaction.
Step 3: Transfer the measured water into your heat-resistant container.
Step 4: Using the kitchen scale, measure the lye. Always measure lye in a well-ventilated area.
Step 5: Gradually add the lye to the water, stirring slowly with a stainless steel spoon. The mixture will start to heat up and become cloudy.
Remember: Lye should always be added to water, not the other way around!
Step 6: Allow the lye mixture to cool down. As it cools, it will become clear. This cooling period can take up to an hour.
Step 7: You now have lye water. It’s a key player in your soap making adventure. Store it in a safe, marked container, out of reach from children and pets.
During each step, safety comes first.
Always wear protective gear, and avoid inhaling the fumes while mixing lye. Keep your work area clean and clutter-free. Have vinegar nearby – it neutralizes lye on the skin in case of accidental spills.
Always add lye to water (not water to lye) to prevent a violent reaction. Patience and respect for the process are the best safety measures you can take.
Troubleshooting Common Lye Water Issues
Clumping Lye
During your lye water creation process, you might stumble upon a hiccup known as lye clumping. This occurs when your lye forms hard, solid masses instead of dissolving seamlessly into the water.
This clumping could be a sign that your lye is old or has been exposed to moisture, which can affect its efficacy. A good solution to this issue is to ensure you purchase fresh lye for your next batch and keep it stored in a dry, moisture-free environment.
Excessive Heat
Another issue that you might face during lye water preparation is excessive heat. This usually takes place when you add the lye to the water too quickly, causing a sudden rise in temperature.
To circumvent this problem, make it a point to introduce the lye more slowly into the water next time. This prevents a rapid spike in temperature and makes the process safer and more controlled.
Inconsistant Mixture
The last common hurdle you may encounter is ending up with a cloudy or murky mixture. This is often a sign that you’ve used tap water, which can contain impurities, instead of distilled water.
To avoid this issue, always opt for distilled water when making your lye water. This type of water doesn’t contain the impurities found in tap water, and will ensure a more consistent, clear solution in your soap-making endeavors.
Tips for Proper Storage of Lye Water
Once cooled, lye water should be stored correctly. Use a secure, clearly labelled container. Store it in a cool, dry place away from kids and pets.
Ensure the lid is on tightly. Keep it out of direct sunlight. Don’t store near food or drinks. Clear labelling prevents any accidental mishandlings.
Safety First: Essential Precautions with Lye
Lye is a strong alkali and can cause harm. Therefore, safety is non-negotiable. Protective gear, working in ventilated areas, and correct handling are vital.
Safety Gear and Practices
Rubber gloves, safety glasses, and long sleeves protect your skin and eyes. Mixing lye in well-ventilated areas avoids harmful fume inhalation. Always add lye to water, not vice versa, to prevent violent reactions.
Understanding Different Types of Lye
There are two types of lye: Sodium Hydroxide (NaOH) and Potassium Hydroxide (KOH). Both serve different purposes in soap making.
When to Use Each Type
Use Sodium Hydroxide for solid soaps. It creates a hard bar of soap. For liquid soaps, use Potassium Hydroxide. It makes a softer soap suitable for liquids.
Frequently Asked Questions
The cooling process of lye water can take up to an hour, depending on the mixture’s volume and initial temperature.
Slow down the addition of lye to the water and allow the mixture to cool naturally before continuing to avoid excessive heat.
It is recommended to use a heat-resistant container like Pyrex or stainless steel to prevent adverse reactions with plastic.
Immediately rinse the affected area with cool water and neutralize the lye by applying vinegar. Seek medical attention if necessary.
It’s not recommended to reuse leftover lye water. For safety and consistent results, make fresh batches for each soap making session.
Store lye water in a cool, dry place, away from direct sunlight, heat, and moisture. Keep it out of reach of children and pets.
Lye water is irreplaceable in soap making due to its unique chemical properties and its role in the saponification process.
Conclusion
In conclusion, lye water is easier to make than you think and it is essential to soap making. You’re now equipped with a solid understanding of lye water, its role in soap making, and how to make it yourself. Plus, you’re ready to tackle any common issues you might face in the process.
Remember, making lye water is just the first step in your soap-making journey. As you continue to explore and experiment, you’ll be able to create unique, homemade soaps that suit your personal needs and tastes.

