Making freshies and using aroma beads molds is easy, fun, and rewarding. You’ll create beautiful, scented beads that not only look good, but also fill your space with delightful fragrances. The star player? Aroma beads molds. Today, we will take a look at the best suppliers for these molds and give you a detailed guide on how to use them. Let’s start this aromatic adventure together!
The Best Aroma Bead Molds Suppliers
- Amazon: This global marketplace has it all. From simple round molds to intricate designs, the variety is mind-boggling. Plus, their fast shipping is a bonus!
- Etsy: Home to unique, handmade molds. Here, individual crafters offer their creative designs. It’s a treasure trove for those seeking something different.
- Aroma Bead Depot: A one-stop shop for all things aroma beads. Their molds are top-notch, durable, and come in a variety of exciting shapes.
- Aroma Beads Online: Known for their high-quality supplies. Their molds are easy-to-use, ideal for crafters at all skill levels.
- Scented Expressions Supplies: The go-to place for custom molds. If you dream it, they can probably make it. Plus, they offer a range of scented beads to match!
Step-by-Step Guide to Using Aroma Beads Molds
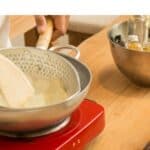
Step 1: Molds Preparation: Begin with spotless molds. Warm water and mild soap can be your best friends here. Rinse each mold carefully, scrubbing if necessary with a soft brush. Gently pat them dry with a clean towel. This initial cleaning sets the stage for perfect aroma beads.
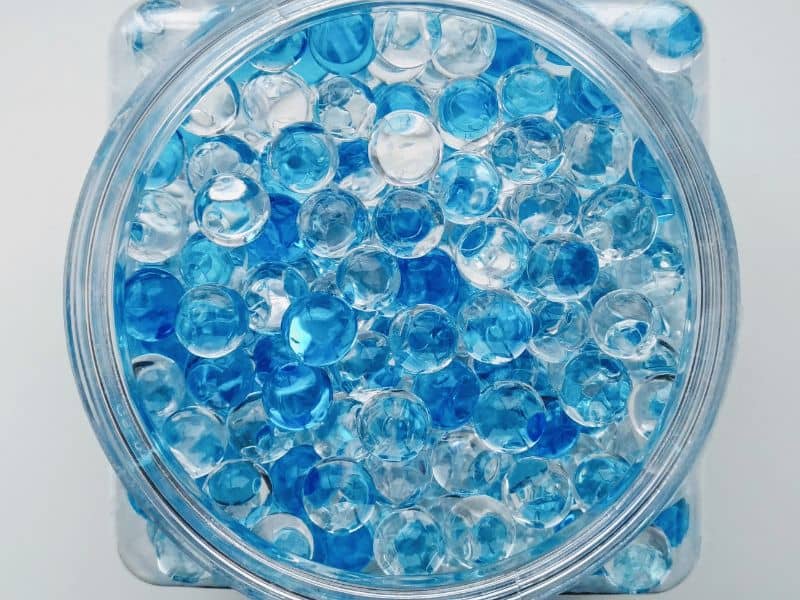
Step 2: Bead Preparation: Now, let’s give those beads some personality. Opt for your favorite essential oils. How about calming lavender or energizing citrus? Mix 1 cup of beads with 25-30 drops of your chosen oil. Stir softly with a spoon to distribute the oil evenly. Cover your beads and let them enjoy a soak for a minimum of 24-hours, the longer the better. This rest time allows the beads to fully absorb the aroma, creating a powerful scent.
Step 3: Filling the Molds: It’s time to shape those beads. Spoon your now aromatic beads into each mold cavity. Be generous! Fill each mold right up to the brim, ensuring no empty spaces are left. A well-packed mold leads to well-formed aroma beads.
Step 4: The Waiting Game: This step tests your patience. Place your filled molds in a safe spot, away from heat and moisture. Let them rest undisturbed for a few days. The drying period varies, but you’ll know they’re ready when the beads feel firm and dry to the touch.
Step 5: The Unveiling: The most exciting part! Gently coax your aroma beads out of the molds. If they’re reluctant, they might need more drying time. Once out, they’re ready to fill your space with delightful fragrance.
Enhancing Your Aroma Beads
Looking to add some extra flair to your aroma beads?
Here are some creative ideas:
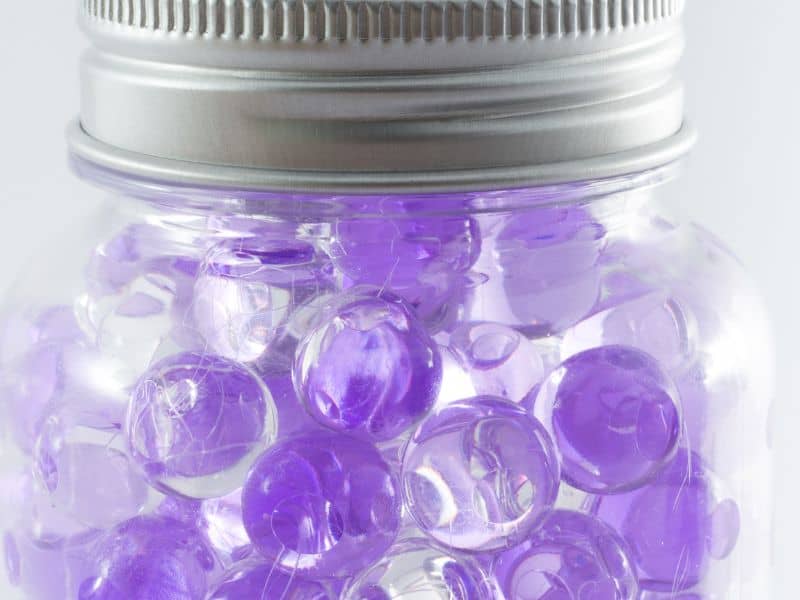
Paint with Colors: Breathe life into your beads with vibrant hues. Liquid candle dye is perfect for this. Simply add a few drops to your oil-soaked beads. You’ll end up with stunning colored beads that brighten up any room.
The Layered Look: For an artistic touch, try filling your molds with layers of differently colored beads. The result? A visual treat of multi-colored aroma beads that’s sure to impress!
Shimmer and Shine: Who doesn’t love a bit of sparkle? Add fine craft glitter to your beads before filling the molds. The finished beads will shimmer beautifully, catching the light and the eye!
Embellish Away: Get creative by adding tiny charm pieces or dried flowers to your beads. Just make sure they’re small and light enough to be embedded. The result will be uniquely decorated beads that stand out in any setting.
Preserving Your Aroma Beads Molds
Proper maintenance is key to the longevity of your molds.
Here are some tips to keep them in top shape:
After-Use Care: Cleanliness is crucial. After each crafting session, wash your molds thoroughly. Warm soapy water and a soft scrub will remove any stubborn beads. Rinse well and dry completely to avoid any mold growth.
Proper Storage: Keep your molds in a cool, dry place. Avoid stacking them or placing anything heavy on top to preserve their shape.
Say No to Harsh Chemicals: Strong cleaning agents can harm your molds. Stick to mild soap and warm water for cleaning.
Regular Mold Check-ups: Make it a habit to inspect your molds regularly. Look out for any signs of wear, tear, or damage. Spotting issues early can save your future crafting sessions from potential problems.
Unleashing Creativity with Aroma Bead Crafts
Got your scented beads and ready to craft?
Here are some unique project ideas:
Holiday Aroma Ornaments: Use holiday-themed molds, like snowflakes or Santa hats, to make festive aroma ornaments. Hang them on your tree or around your home for a festive feel and a delightful scent.
On-the-Go Freshness: Craft mini aroma bead air fresheners for your car. Choose molds in fun shapes like stars, hearts, or even miniature cars. Hang them from your rear-view mirror for a refreshing scent on every journey.
Scented Jewelry: Fashion and fragrance combined! Using small, bead-shaped molds, create scented beads for necklaces or bracelets. Choose oils that have personal meaning or calming properties for a wearable dose of aromatherapy.
Personalized Gifts: Show your loved ones you care with customized aroma beads. Select molds that reflect their interests, and use their favorite scent. It’s a thoughtful, homemade gift they’ll cherish.
Decorative Room Fresheners: Use larger, decorative molds like flowers or abstract shapes to create statement pieces. They’ll serve as both room decor and delightful air fresheners.
Solving Common Aroma Bead Crafting Problems
Like any craft, aroma bead crafting can come with challenges.
Here’s how to tackle them:
Sticky Situation: If beads are sticking to the mold, ensure the mold is clean and dry before use. If beads still stick, lightly dust the mold with cornstarch before filling.
Non-Absorbent Beads: If beads aren’t absorbing oil, check the type of beads you’re using. Only specific aroma beads are designed to absorb oil. Regular plastic beads won’t do the trick.
Slow Drying: Beads taking forever to dry? It could be due to high humidity. Beads dry best in low humidity environments. If you live in a humid area, you may need to wait a bit longer.
Faint Scent: If your beads aren’t as fragrant as you’d like, try increasing the amount of essential oil, or let the beads soak in the oil for a longer period.
Remember, don’t lose heart if you encounter problems. They’re stepping stones on your crafting journey. With patience and practice, you’ll be a pro aroma bead crafter in no time!
Frequently Asked Questions
It varies, but usually a few days. If your area is humid, it may take longer. The beads should be firm and dry when ready.
Ensure your molds are clean and dry. You can also lightly dust them with cornstarch before filling.
You can use liquid candle dye. Mix a few drops in with your oil-soaked beads before filling the molds.
Yes, with proper care and cleaning, aroma bead molds can be reused many times.
Clean your molds with warm soapy water and a gentle scrub. Rinse well and dry completely before storing.
Absolutely! The shape of your aroma beads depends on the molds you use. There are many different mold designs available, so you can get creative!
Conclusion
In conclusion, with the right molds, a splash of creativity, and a sprinkle of patience, you can transform simple beads into fragrant works of art. Whether you’re crafting for fun, creating personalized gifts, or adding a touch of fragrance to your surroundings, each bead carries your unique touch.
Remember, it’s not just about the end product, but also the joy and relaxation that crafting brings. So, gather your supplies, roll up your sleeves, and let’s fill the world with delightful scents, one bead at a time!