Ever wonder how to fill your car with delightful smells all the time? Well, homemade car freshies are the answer. They’re fun, easy to make, and you can customize them with your favorite scents. The question is, at what temperature do you bake car freshies?
Car freshies are typically baked at a moderate temperature of 175 degrees Fahrenheit. This temperature allows for a slow, controlled melt of the aroma beads, optimizing scent release. However, slight adjustments may be needed based on individual ovens and freshie sizes.
Making car freshies isn’t the same every time. Your oven and the kind of freshie you’re making can change things. So, watch your freshies while they bake. The little beads should slowly melt together to make one solid shape. If they’re not sticking together, or if they’re melting too fast, change your oven’s heat a bit. This way, your freshies will turn out perfect each time.
Let’s take a closer look at this process below.
Determining the Right Baking Temperature
Oven temperature is pivotal when crafting car freshies. It’s a balance to strike. Excessively high heat risks swift melting, leading to a rapid aroma release and potentially a short-lived fragrance. Conversely, insufficient heat might leave the freshie only partially melted, thus not permitting the scent to disperse fully and effectively.
A median temperature often cited is 175 degrees Fahrenheit. This temperature seems to strike the right balance, promoting a controlled melt that optimizes aroma distribution and longevity of your car freshies.
However, remember that each oven and freshie formulation is unique. You may need to tweak the temperature. If your freshies are a bit chunkier, consider a slight increase, perhaps to 185 degrees, and potentially prolonging the bake time. Monitor your freshies carefully and make adjustments accordingly.
Materials Needed for Making Car Freshies
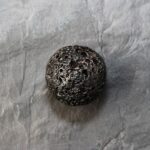
Creating car freshies is both an art and a science. The necessary supplies include aroma beads, essential oils, baking sheets, cookie cutters or silicone molds, and an oven.
Each material serves a crucial purpose. Aroma beads, porous by nature, soak up and encapsulate your chosen scent. Essential oils give the aroma beads their fragrance. The cookie cutters or silicone molds create distinctive shapes, adding a touch of personality to your freshies.
Baking sheets offer a stable surface for placing the molds, while the oven provides the heat needed to bind the scent to the beads and solidify the freshies.
Choosing the Right Aroma for Car Freshies
When it comes to fragrances, options are almost limitless. Classic scents such as the warm sweetness of vanilla, the calming notes of lavender, or the refreshing scent of pine are widely loved. For a twist, try unique scents like invigorating coffee, zesty citrus, or the crisp smell of an ocean breeze.
You can also create a truly unique aroma profile by combining different scents. For instance, blend the comforting smell of vanilla with the rich scent of coffee for a cozy, inviting aroma. Or, mix the fresh, green scent of pine with the crisp coolness of mint for a bright, outdoorsy fragrance. This is where you can let your creativity shine, inventing a scent that’s distinctively yours.
Preparing the Freshie Mix
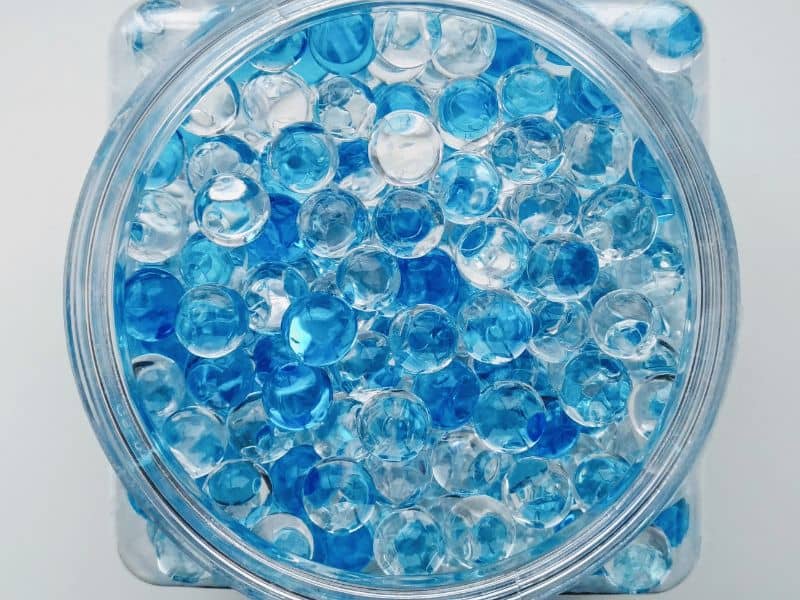
Creating the freshie mix involves a careful process. Start by measuring exactly one cup of aroma beads into a large bowl. If you plan to make a larger batch of freshies, you can scale up accordingly, keeping a 1:1 ratio of beads to oil.
Introducing your chosen scents requires a slow, steady hand. Add one ounce of essential oil to the bowl, pouring slowly and stirring intermittently to ensure even distribution among the beads. Let the mixture rest for a full 24 hours to ensure the aroma beads fully absorb the oil, ensuring maximum scent in your final product.
Molding Your Car Freshies
When selecting molds for your freshies, consider their final location. Will they hang from a mirror or sit on a dashboard? Popular shapes include hearts, stars, and circles. However, consider unique shapes, like animals or geometric designs, to make your freshies stand out. Silicone molds are preferred due to their durability and heat resistance.
Gently spoon your freshie mix into each mold, taking care to distribute evenly. Don’t overfill the molds – leave about a quarter inch of space at the top to allow for expansion during the baking process.
Baking Your Car Freshies
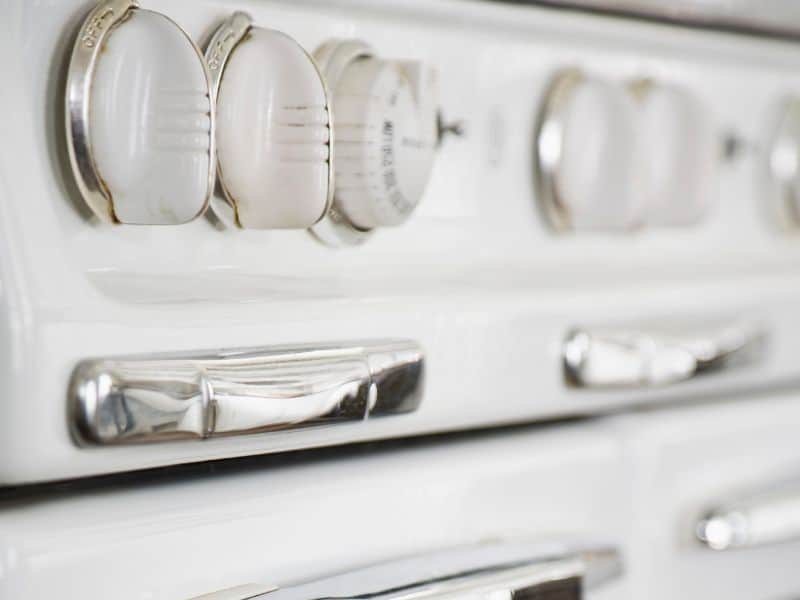
For the baking stage, begin by preheating your oven to the temperature previously determined, typically 175 degrees Fahrenheit. Position your filled molds on a flat baking sheet to ensure stability during baking.
- Step one: Preheat your oven to 175 degrees Fahrenheit.
- Step two: Position your molds on a baking sheet.
- Step three: Bake for approximately 60 minutes. The exact time may vary depending on your oven’s specific temperature settings and the thickness of your freshies.
Baking isn’t a set-it-and-forget-it process. Stay nearby and keep a vigilant eye on your freshies. The beads should gradually melt and fuse together to form a solid piece. If they aren’t fusing, or if they’re melting too swiftly, adjust your oven’s temperature accordingly. Proper monitoring ensures each freshie is perfectly baked for optimum aroma and longevity.
Cooling and Unmolding Car Freshies
Once your freshies finish baking, it’s time to let them cool. This process is as crucial as baking since it allows the freshies to harden and retain their shape. Carefully remove the baking sheet from the oven using oven mitts to protect your hands.
Place the sheet on a heat-resistant surface and let your freshies cool undisturbed for about two to three hours. It’s vital not to rush this step – moving freshies too soon can cause them to break.
Removing freshies from their molds requires a gentle touch. After cooling, the freshies should be solid and the molds slightly flexible. Carefully press the bottom of each mold and the freshie should pop out. If a freshie resists, don’t force it. Instead, let it sit for a while longer to ensure it’s completely cool and hardened.
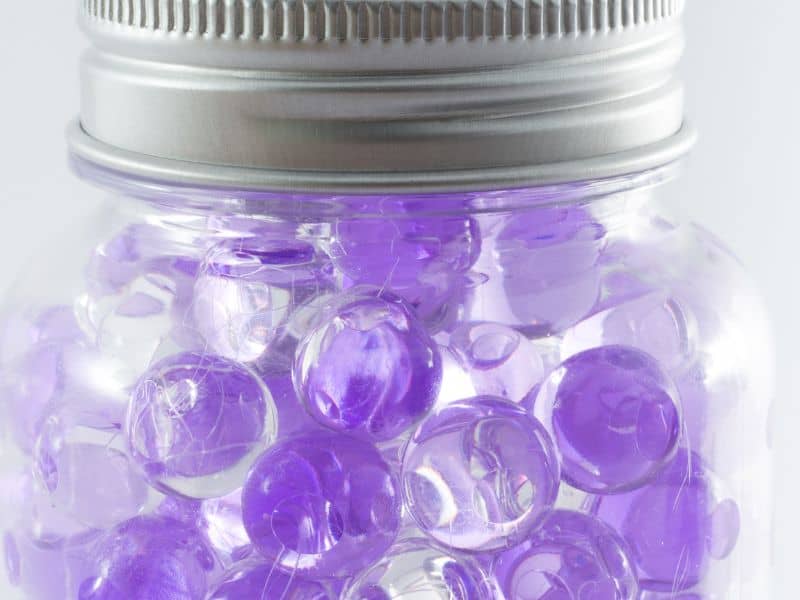
Safeguarding Your Car Freshies
Proper storage of car freshies will help preserve their scent and appearance. Store freshies in a cool, dry place away from direct sunlight, which can melt or fade them. Consider using sealable plastic bags or airtight containers to protect them from dust and moisture. If you plan to sell or gift them, clear plastic bags with a ribbon tie not only offer protection but also present a nice aesthetic.
To maximize the lifespan of your car freshies, here are a few tips. Rotate freshies regularly, swapping them out every two to three weeks. This way, you don’t become nose-blind to the scent and the freshie gets a “rest period” to reinfuse its scent.
Also, keep freshies out of extreme heat or cold as drastic temperatures can affect their scent diffusion rate. Follow these steps and you’ll have fragrant car freshies that look great and smell wonderful for as long as possible.
Frequently Asked Questions
To make car freshies, you’ll need aroma beads, essential oils, silicone molds or cookie cutters, baking sheets, and an oven. Aroma beads absorb the oils to carry the scent, molds shape the freshies, and the oven heats and solidifies the mixture.
Choosing a scent is subjective and depends on personal preference. Some people prefer fresh, clean scents like pine or citrus, while others might prefer warm, cozy scents like vanilla or cinnamon. Mixing scents can create a unique aroma profile.
Most car freshies need to bake for about an hour. However, the exact time can vary based on your oven’s temperature and the thickness of your freshies. It’s important to keep an eye on them during the baking process to avoid overheating.
Car freshies are done baking when the aroma beads have completely melted and fused together. You should see a solid piece in the shape of your mold. If the beads aren’t fully fused, more baking time might be needed.
Cooling is crucial in the car freshie making process as it allows the freshies to harden and maintain their shape. Rushing this step or moving freshies too soon could result in breakage.
After cooling, the freshies should be solid and easy to remove from their molds. Gently press the bottom of each mold and the freshie should pop out. If it resists, it might need more time to cool and harden.
Yes, you can mix different scents in one car freshie to create a unique fragrance. It’s a creative process and allows you to experiment with various combinations
Conclusion
In conclusion, making your own car freshies is simpler than you might have thought. With the right materials, your favorite scents, and a bit of patience, you can create amazing smelling freshies for your car.
Just remember to let them cool, handle them with care, and store them properly. Now, you’re all set to enjoy a car ride filled with your favorite smells.