Cold process and melt and pour are two popular methods of soap making. Both offer unique benefits, but one question often comes to mind: which one is more cost-effective? In this article, we’ll break down the costs, benefits, and drawbacks of each method, helping you make an informed decision on which soap making method is right for you.
Melt and pour soap has a lower initial investment, but cold process soap becomes more cost-effective per bar when produced in large quantities. This is due to lower costs for cold process raw materials like oils and lye when buying them in bulk rather than in small batches.
In addition, cold process soap making allows for more customization in terms of ingredients, enabling soap makers to choose more affordable alternatives without compromising on quality.
As you gain experience and confidence in soap making, you can further reduce costs by sourcing materials from local suppliers or exploring cost-saving tips.
Consequently, the long-term savings potential of cold process soap making becomes increasingly attractive, especially for those committed to producing larger quantities of soap over time.
Let’s take a closer look at the costs associated with each soap making method.
Cold Process vs Melt and Pour: Cost Comparison
Startup Costs
This table helps you understand the initial startup costs for each method.
| Item | Cold Process Soap | Melt and Pour Soap |
|---|---|---|
| Soap Base / Oils and Lye | $40 | $30 |
| Fragrances and Colorants | $20 | $20 |
| Molds | $15 | $15 |
| Mixing Tools | $10 | $5 |
| Safety Equipment | $10 | $0 |
| Thermometer | $10 | $0 |
| Total Estimated Cost | $105 | $70 |
Long-term production costs
This table helps you understand the production cost over an extended period of time.
| Item | Cold Process Soap | Melt and Pour Soap |
|---|---|---|
| Soap Base / Oils and Lye | $0.70 | $1.00 |
| Fragrances and Colorants | $0.40 | $0.40 |
| Molds | $0.20 | $0.30 |
| Mixing Tools (Amortized) | $0.05 | $0.05 |
| Safety Equipment (Amortized) | $0.05 | $0.00 |
| Thermometer (Amortized) | $0.05 | $0.00 |
| Total Estimated Cost per Bar | $1.45 | $1.75 |
Material costs for both methods
Cold process soap requires oils, lye, and water as the primary ingredients. The cost of oils varies depending on the type and quality.
Commonly used oils include olive, coconut, and palm oil, which can be purchased in bulk to save money.
Lye, also known as sodium hydroxide, is another expense that must be factored in. Water is usually a minimal cost.
Melt and pour soap involves buying a pre-made soap base. Prices can differ based on the ingredients and quality of the base.
Some options include glycerin, shea butter, and goat’s milk bases. Both methods share some material costs, like fragrances, colorants, and molds.
Time investment and labor costs
Cold process soap making is more time-consuming than melt and pour. Mixing the ingredients, including oils and lye, takes time, and you must wait for the soap to reach trace before pouring it into molds.
The curing process can last 4-6 weeks, during which the soap hardens and becomes milder. Cleanup can also be more labor-intensive, as you need to handle lye safely.
Melt and pour soap is quicker and simpler. The soap base is melted, mixed with additives, and poured into molds to set. The process usually takes a few hours, and the soap is ready to use once it’s cooled and hardened.
Less time is spent on cleanup, as lye isn’t involved.
Consider the value of your time when weighing costs. Melt and pour may be more cost-effective if you’re short on time.
Additional factors affecting price
Equipment costs should be taken into account for both methods.
Cold process requires mixing tools, thermometers, gloves, and safety goggles, while melt and pour needs fewer supplies, such as a microwave or double boiler for melting the base. Initial investments in equipment can be spread over multiple batches of soap.
Bulk purchasing of ingredients and supplies can lead to significant savings. Buying oils, lye, and soap bases in larger quantities usually reduces the cost per unit.
Unique ingredients, such as essential oils, natural colorants, or exfoliants, can impact the overall cost of your soap. Consider using more affordable alternatives or sourcing materials from local suppliers to save money.
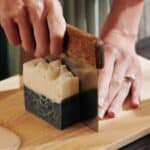
Cold Process Soap
Cold process soap making is a traditional method that involves mixing oils with a lye solution, which initiates a chemical reaction called saponification. This process transforms the oils and lye into soap and glycerin.
Mixing oils and lye solution:
To begin, carefully measure your oils, lye, and water. Oils commonly used in cold process soap making include olive, coconut, and palm oils, but there is a wide range of options to choose from based on your preferences.
Heat the oils to the desired temperature, usually between 100-120°F (38-49°C), ensuring they are within 10 degrees of the lye solution temperature.
Slowly add the lye to the water (never the other way around) in a well-ventilated area, as this will produce fumes. Allow the lye solution to cool to the appropriate temperature.
Once both the oils and lye solution reach the desired temperature range, carefully pour the lye solution into the oils, stirring gently. Use a stick blender to mix until you achieve “trace” – a pudding-like consistency where the soap mixture leaves a visible trail when drizzled on the surface.
Creating a chemical reaction: saponification
Saponification occurs when the oils and lye solution are mixed, turning the ingredients into soap and glycerin.
During this process, the lye breaks down the oils into their fatty acid components, which then react with the lye to form soap molecules.
Glycerin is a byproduct of saponification and remains in the soap, providing moisturizing properties.
Curing process: allowing soap to harden
Once trace is achieved, you can add any desired fragrances, colorants, or other additives. Pour the soap mixture into a mold, and cover it to insulate the heat generated during saponification.
This heat helps the soap to fully saponify and harden.
After 24-48 hours, remove the soap from the mold and cut it into bars. Place the bars on a drying rack, allowing for air circulation on all sides.
The curing process typically takes 4-6 weeks, during which time excess water evaporates, and the soap hardens. This process also allows the soap to become milder, resulting in a gentler, longer-lasting bar.
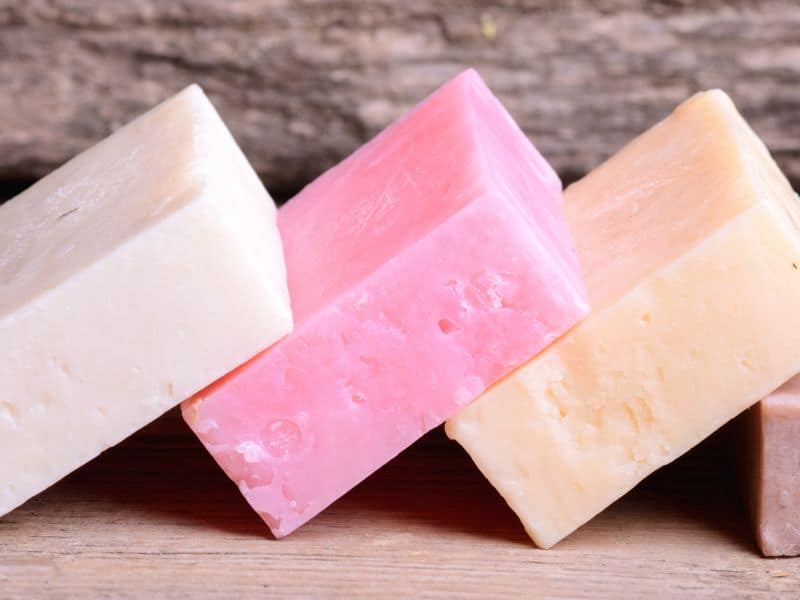
Melt and Pour Soap
Basic explanation of melt and pour
Melt and pour soap making is a beginner-friendly method that uses pre-made soap bases. These bases come in various types, such as glycerin, shea butter, and goat’s milk.
The process involves melting the soap base, adding desired additives like fragrances, colorants, and exfoliants, and then pouring the mixture into molds.
Once cooled and hardened, the soap is ready for use.
Cost factors to consider
The primary cost factor for melt and pour soap is the soap base itself. Prices vary depending on the type, quality, and ingredients of the base. Other costs include additives, such as fragrances and colorants, and reusable or disposable molds.
Benefits and drawbacks
Benefits of melt and pour soap making include ease of use, shorter production time, and no need to handle lye. It’s a great choice for beginners or those looking for a quick and creative soap-making project.
Additionally, melt and pour soap can be easily customized with various additives.
Drawbacks include less control over the ingredients, as you’re limited by the pre-made soap base, and potentially higher costs compared to cold process soap making.
Some melt and pour bases may contain synthetic additives or detergents that some users might want to avoid.
DIY Soap Making Cost Saving Tips
Budget-friendly materials and supplies
To save money on soap making, consider using affordable molds, such as silicone baking molds or repurposed plastic containers.
For mixing tools, use items from your kitchen, like spatulas and whisks, rather than purchasing specialized equipment.
Ways to save on ingredients
Buy ingredients in bulk to reduce the cost per unit. Look for sales and discounts on soap bases, oils, and other supplies.
Additionally, consider using more affordable alternatives for additives, like fragrance oils instead of essential oils, or natural colorants such as spices or herbs.
Reusing and recycling materials
Reuse and recycle materials whenever possible. Save leftover soap scraps to be remelted and combined into new soap bars, or use them as embeds for a creative touch.
Clean and reuse containers and molds for multiple soap-making projects. This not only saves money but also reduces waste and supports a sustainable approach to soap making.
Frequently Asked Questions
Both methods have their benefits and drawbacks. Cold process soap offers more control over ingredients, while melt and pour soap is easier and quicker to make. The choice depends on personal preferences and objectives.
Melt and pour soap has a lower initial investment, but cold process soap becomes more cost-effective per bar when produced in large quantities due to lower raw material costs and economies of scale.
Buy ingredients in bulk, choose affordable alternatives for additives, and reuse or recycle materials whenever possible. Opt for budget-friendly molds, such as silicone baking molds or repurposed plastic containers.
Look for sales and discounts on soap bases, buy ingredients in bulk, and use affordable alternatives for additives. Reuse and recycle materials, and use budget-friendly molds.
Yes, essential oils can be added to melt and pour soap for fragrance. However, use them sparingly, as too much can cause skin irritation.
Yes, you can use the same molds for both methods, as long as they are clean and soap residue-free.
Conclusion
In conclusion, melt and pour has a lower initial cost, but cold process is more cost effective in the long run. Both cold process and melt and pour soap making methods offer unique benefits and drawbacks, with cost being a crucial factor to consider.
Ultimately, the choice depends on your individual needs, preferences, and commitment to soap making. By understanding the costs involved and implementing the money-saving tips shared in this article, you can make the most of your soap making journey, regardless of the method you choose.