One way to elevate your soap-making game is by stamping your melt and pour soaps. This article will guide you through the benefits of stamping, the ideal timing for this technique, and tips on how to achieve the perfect stamped design.
Stamp melt and pour soap as soon as you cut it when you remove it from the mold. When it’s firm but slightly soft, allowing a clear design without damage. Soap continues to harden after you cut it as it loses moisture so if you wait too long you won’t be able to stamp it.
It’s important to note that some molds require longer cooling times than others depending on their complexity and size. Be sure to check the manufacturer’s guide for exact timing but as a rule of thumb, 6-8 hours is usually enough time to cool the soap before stamping.
Getting The Best Stamp on Soap
Ideal Consistency for Stamping
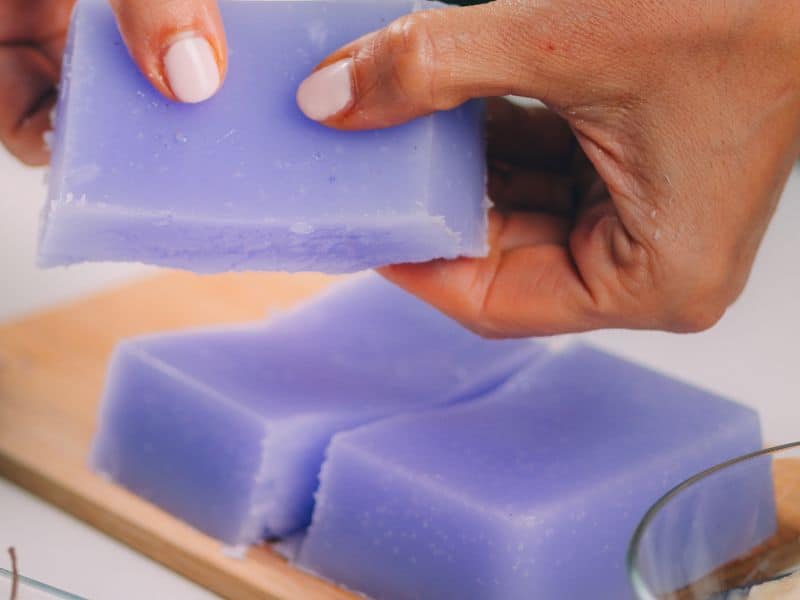
To achieve the best stamping results, the soap’s consistency should be firm, but slightly soft. This allows the stamp to create a clear, crisp design without damaging the soap’s surface.
You can test the soap’s readiness by gently pressing your finger on the surface.
If it leaves a slight indentation without creating a fingerprint, it’s ready for stamping. The soap should be able to hold the design without crumbling or distorting.
Factors Affecting Stamping Time
Several factors can influence the ideal stamping time for melt and pour soap:
- Soap base type: The soap base you choose, such as glycerin or shea butter, will affect the cooling time and consistency.
- Room temperature and humidity: Warmer or more humid environments can prolong the cooling process, while cooler or drier conditions can speed it up.
- Size and depth of the soap mold: Thicker or larger soaps may take longer to reach the ideal consistency for stamping.
- Cooling process: Allowing the soap to cool at room temperature may result in a different stamping time than if you use a refrigerator to speed up the process.
Waiting for the Perfect Moment
Patience is essential for successful soap stamping. It’s crucial to monitor the soap’s cooling progress and adjust the stamping time based on the factors listed above.
Stamping too early may cause the design to smudge or become distorted, while waiting too long can make it difficult to create an impression in the hardened soap.
Trust your instincts and experience to determine the best time to stamp your melt and pour soap.
Why Should You Stamp Melt and Pour Soap?
There are a lot of reasons to stamp melt and pour soap, especially if you are trying to sell it.
Stamping melt and pour soap enhances visual appeal, showcases artistic flair, creates personalized gifts, differentiates your products, and makes soap making fun and engaging, adding value to homemade creations.
Let’s take a closer look at how stamping benefits your soap.
Enhancing Soap’s Visual Appeal
Stamping your melt and pour soap adds an attractive, eye-catching design that improves its overall appearance. A beautifully stamped soap encourages both usage and display, adding a touch of charm to any bathroom or kitchen.
Showcasing Artistic Flair
Stamping your soap allows you to express your creativity through unique designs and patterns. You can choose stamps that represent your personal symbols or logos, setting your soap apart from generic, store-bought options.
Creating Personalized Gifts
Custom-stamped soap makes a thoughtful, personalized gift for friends and family on special occasions. Adding a personal touch to your handmade soap demonstrates the care and effort you put into creating a one-of-a-kind present.
Differentiating Your Soap Products
If you sell your handmade soap, stamping can help establish a brand identity with distinct, memorable designs. This can attract customers to your product line and increase your soap’s visibility and recognition.
Making Soap Making Fun and Engaging
Experimenting with new stamping techniques and designs adds an enjoyable challenge to the soap-making process. Embrace your creativity and enjoy the satisfaction of crafting a well-stamped, visually appealing melt and pour soap.
Preparing Melt and Pour Soap for Stamping
Choosing the Right Soap Base
Selecting a suitable soap base is crucial for successful stamping. There are various soap base options, including glycerin, shea butter, goat’s milk, and olive oil. Consider the following when choosing a base:
- Ease of stamping: Some bases may be more receptive to stamping than others.
- Skin benefits: Different bases offer unique benefits, such as moisturizing or exfoliating properties.
- Fragrance and color: Some bases accept fragrance and color additives better, which can enhance your soap’s appearance.
Properly Melting Soap
To achieve the ideal consistency for stamping, melt your soap base carefully:
- Cut the base into small, even pieces for even melting.
- Use a double boiler or microwave-safe container to heat the soap, stirring occasionally.
- Avoid overheating, as this can cause the soap to become too thin or create a skin on the surface.
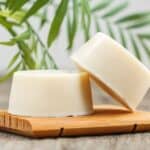
Setting Soap in a Mold
- Pour the melted soap into a mold, ensuring even distribution.
- Allow the soap to cool and harden slightly, reaching the optimal consistency for stamping.
- Keep an eye on the cooling process, as this will determine the best time to stamp.
Stamping Techniques and Tips
Selecting the Right Stamp
- Choose a stamp made from a durable, easy-to-clean material, such as silicone or rubber.
- Consider the design’s size and intricacy to ensure a clean impression.
- Test your stamp on a piece of scrap soap or wax paper to practice and adjust your technique.
Properly Applying Pressure
- Hold the stamp firmly, applying even pressure across the entire design.
- Press the stamp straight down into the soap, avoiding any twisting or rocking motions.
- Gently lift the stamp, ensuring the design has transferred clearly and without distortion.
Avoiding Common Mistakes
- Don’t rush the stamping process; waiting for the ideal consistency is crucial.
- Use a steady hand and firm pressure when stamping to avoid smudging or blurring the design.
- Clean the stamp between uses to prevent any buildup that may affect the impression.
Caring for Your Stamped Soap
Preserving the Design
- Handle the soap gently to avoid smudging or distorting the stamped design.
- Allow the soap to fully harden before using or gifting it.
- Keep the soap away from direct sunlight or heat sources, as this can cause the design to fade.
Storing and Packaging Tips
- Store your soap in a cool, dry place, away from humidity and moisture.
- Wrap the soap in wax paper or plastic wrap to protect the design during storage or transportation.
- Consider using decorative boxes or bags to present your soap as a gift or for sale.
Ensuring Soap Longevity
- Rotate your soap’s position in the soap dish, allowing it to dry evenly and maintain the design.
- Avoid placing the soap directly under running water, as this can cause the design to wear away quickly.
- Encourage proper usage, ensuring the soap’s beauty and functionality last as long as possible.
Benefits of Stamping Melt and Pour Soap
Personalization and Creativity
Stamping melt and pour soap allows you to explore your artistic side and personalize your creations.
With a wide variety of stamps available, you can choose designs that reflect your personality, interests, or the intended recipient’s preferences.
Experimenting with different patterns and styles enables you to develop your skills and create one-of-a-kind soaps.
Enhancing Aesthetics
A well-stamped soap can elevate its visual appeal, transforming a simple bar into a work of art. By adding intricate designs or meaningful symbols, you can make your soap stand out and catch the eye.
Stamping can also enhance the theme of your soap, such as using nature-inspired designs for a botanical soap or monograms for a sophisticated, classic look.
Adding Value to Homemade Soap
Incorporating stamping into your soap-making process adds value to your homemade creations. A stamped soap demonstrates the time, effort, and thought you put into crafting each piece, making it feel more special and unique.
This added touch can be particularly meaningful for gift-giving, as it shows your care and attention to detail.
If you sell your soaps, stamping can also help distinguish your products from competitors and create a recognizable brand, attracting customers and increasing perceived value.
Frequently Asked Questions
Gently press your finger on the soap’s surface; if it leaves a slight indentation without creating a fingerprint, the soap is ready for stamping.
Avoid stamping too early or late, using uneven pressure, and not cleaning the stamp between uses, as these can lead to smudging, blurring, or distortion of the design.
Handle the soap gently, allow it to fully harden, and keep it away from direct sunlight or heat sources to prevent fading.
While this article focuses on melt and pour soap, you can also experiment with stamping other soap-making methods, such as cold process or hot process, though the techniques may vary.
Conclusion
In conclusion, stamping melt and pour soap is an exciting and creative way to elevate your homemade soap creations. By mastering the ideal consistency, timing, and technique, you can craft visually appealing, personalized, and valuable soaps.
Embrace your artistic side, experiment with various designs, and enjoy the satisfaction of producing unique, stamped soaps that impress your friends, family, or customers. Happy soap making!