Diving into the world of homemade soaps can be a thrilling venture. Among various methods, hot process soap making has gained popularity for its quick turnaround time. But, like any craft, it’s not without its challenges. Overcooking, for instance, can alter your soap’s appearance, effectiveness, and even cause skin irritation.
You can overcook hot process soap. Overcooking can change the soap’s texture, color, and scent. It may also reduce lather, and diminish cleaning ability. Careful monitoring, heat control, regular stirring, and quality ingredients can help prevent this common soap-making mistake.
While overcooking hot process soap can pose a challenge, it’s a hurdle that’s easy to overcome with some knowledge and practice. Understanding the signs of overcooking and implementing strategies to prevent it, can help you create beautiful, effective soap in less time than traditional methods.
Remember, the key lies in patience, attentiveness, and a willingness to experiment. So don’t let the fear of overcooking deter you.
Understanding Hot Process Soap
Hot process soap is a type of homemade soap that’s made using heat. It’s a favorite for many soap makers because the cooking process speeds up saponification – the chemical reaction that turns oils and lye into soap. This means you can use your soap much sooner than other methods!
Differences Between Hot and Cold Process Soaps
When it comes to soap making, time plays a pivotal role.
Here’s how hot process and cold process soaps compare:
- Curing Time: Cold process soap requires a long curing period. Typically, it needs to sit, or ‘cure,’ for four to six weeks. This is to ensure all the lye reacts with the oils, making it safe and gentle for skin use.
- Saponification: On the other hand, hot process soap is cooked, which accelerates saponification. This is the chemical reaction where oils and lye transform into soap. The heat triggers a quicker reaction, making the soap ready in a matter of hours instead of weeks.
- Usage: Because of the accelerated saponification, hot process soap can be used almost immediately after it cools and hardens. This is a significant advantage for those who don’t want to wait or are making soap in a time crunch.
Understanding these differences can help you choose the method that best suits your soap-making needs and preferences.
Signs of Overcooking
Recognizing Overcooked Soap
Understanding the signs of overcooked soap is essential. Here’s what to look out for:
- Dryness: Overcooked soap often lacks the usual smoothness and appears dry. This could mean your soap was cooked for too long.
- Crumbly Texture: Soap should hold its shape. If it’s crumbly or easily falls apart, it might be overcooked.
- Discoloration: Changes in color are another telltale sign. Overcooked soap often loses its vibrant color, appearing dull or discolored.
- Off Scent: Finally, the smell. Overcooked soap can lose its intended scent, replaced by a burnt or off smell.
If you spot any of these signs, your soap may have been cooked a bit too long. It’s all part of the learning process in mastering soap making!
Effects of Overcooking
Overcooking soap impacts more than just its appearance and aroma.
Here’s how it can affect the soap’s performance and safety:
- Reduced Lather: One of the joys of using homemade soap is its rich, creamy lather. Overcooked soap might not create as much lather, diminishing the bathing experience.
- Decreased Cleaning Ability: Soap’s primary job is to clean. If it’s overcooked, it may not clean as effectively, leaving your skin feeling less fresh and clean.
- Skin Irritation: Soap should be gentle on your skin. However, overcooked soap can cause irritation, dryness, or discomfort. If you have sensitive skin, this is especially undesirable.
In short, overcooking your soap can significantly impact its quality and effectiveness, so it’s crucial to keep a careful eye during the cooking process.
Preventing Overcooking
Keeping your soap from overcooking involves a few important measures. One of the most crucial is careful monitoring. Keep a close watch on your soap as it cooks. This isn’t the time to multi-task – you’ll want to stay focused to catch any signs of overcooking early.
Heat control is also key. Just like when you’re cooking a meal, the right temperature makes all the difference. Too high, and you risk burning the soap. Too low, and it might not cook thoroughly. Find that ‘Goldilocks’ zone of just right, and keep it there.
Stirring is another critical aspect. It aids in even cooking and prevents the soap from sticking to the bottom of the pot and burning. Consider it a good arm workout!
Finally, the quality of your ingredients plays a significant role. High-quality, fresh ingredients not only make for better soap, they’re also more forgiving during the cooking process. Lower-quality oils, for instance, might have impurities that can burn more easily.
Common Mistakes in Hot Process Soap Making
When starting with hot process soap making, it’s normal to make some mistakes. Here’s a list of common ones:
- Using too much heat: Overheating can lead to overcooked soap. The fix is simple: try a lower heat setting.
- Not stirring enough: Regular stirring ensures even cooking and prevents burning. Make sure to stir consistently!
- Rushing the process: Soap making is an art that requires patience. Give the soap the time it needs to cook properly.
Hot Process Soap Making Tips
To improve your soap-making skills, consider these additional tips:
- Take your time: Soap making isn’t a race. Let each stage take its necessary time for the best soap results.
- Maintain cleanliness: Ensure your workspace, tools, and hands are clean before starting. This helps avoid any contamination.
- Test before use: Always test your soap before use to ensure it’s safe and effective. A harsh feel or lack of lather might indicate a problem.
- Keep experimenting: Don’t worry if your initial batches aren’t perfect. Experiment with different ingredients, scents, or colors to find your perfect recipe.
Frequently Asked Questions
The ideal temperature can vary depending on your recipe, but generally, cooking soap over a medium-low to medium heat is a good starting point.
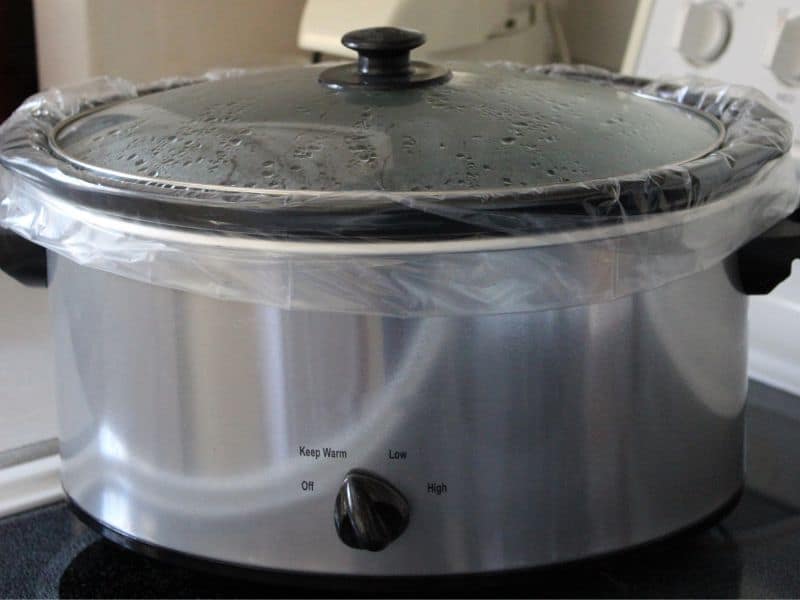
A heavy-bottomed pot is ideal because it distributes heat evenly, reducing the risk of burning.
Hot process soap can be used almost immediately after it cools and hardens, thanks to the accelerated saponification.
Using too much heat, not stirring enough, and rushing the process are common errors when making hot process soap.
Overcooked soap might look dry or discolored, have a crumbly texture, or emit a burnt or off smell.
Careful monitoring, proper heat control, regular stirring, and use of quality ingredients can help prevent overcooking.
Conclusion
In conclusion, making your own soap can be an exciting and rewarding journey. Hot process soap, with its faster saponification and shorter wait time, is an excellent method for those eager to try their hand at this age-old craft.
However, as with any new skill, it’s important to understand the potential pitfalls. Overcooking is a common issue, but with careful monitoring, correct heat control, consistent stirring, and the use of quality ingredients, it can be easily avoided.
Remember, soap making is as much an art as it is a science. Don’t get disheartened if your first few batches aren’t perfect. Learn from the common mistakes, apply the tips shared, and keep experimenting with different ingredients and processes. With time and patience, you’ll soon master the art of soap making.